How to draw fall leaves | Step by step guide
3 easy ways to doodle autumn leaves

In this post I am sharing with you three easy ways to draw fall leaves. Step by step doodling tutorials of maple, chestnut and birch will be shown below. Now grab your sketch book and draw together with me!
Steps
1. Maple
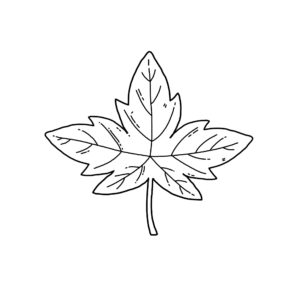
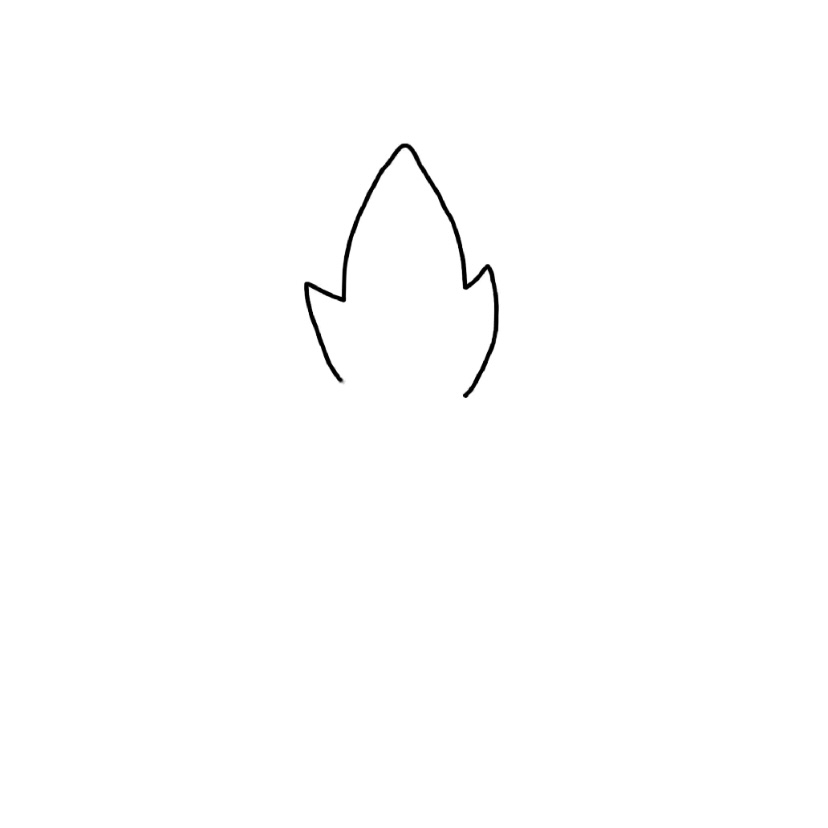
Step 1. Draw the shape as shown.
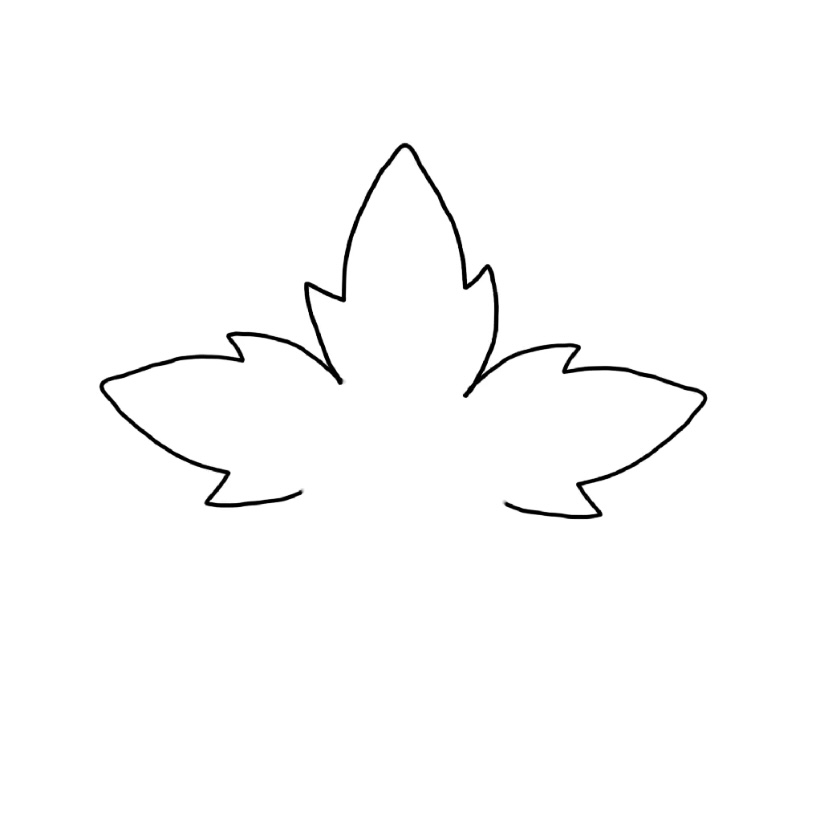
Step2. Repeat the shape on both sides.
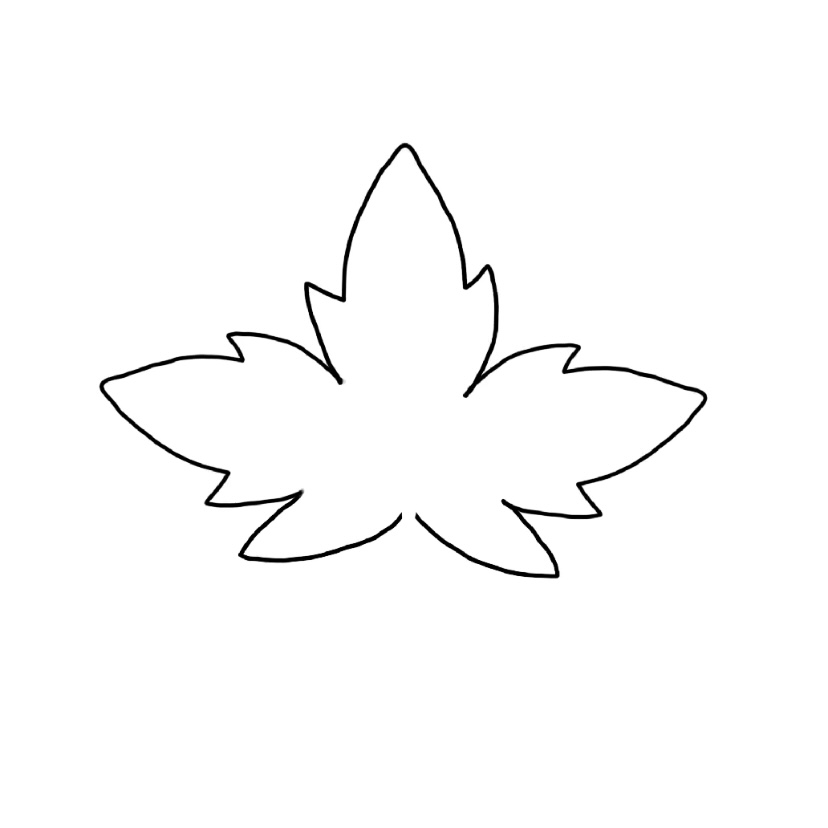
Step 3. Add two large V-shape at the bottom.
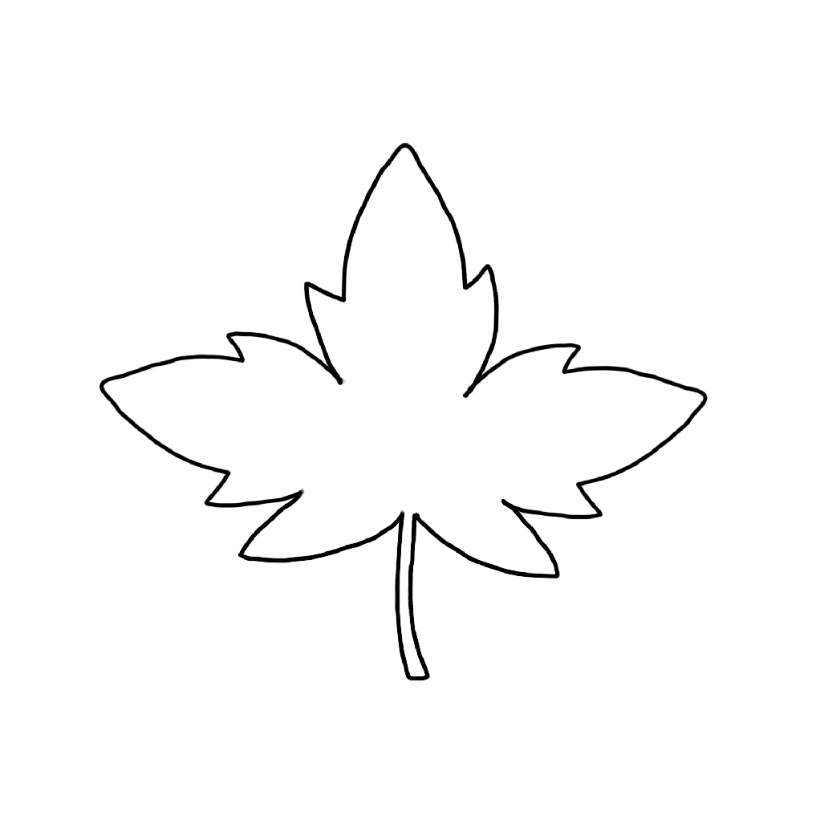
Step 4. Add a petiole.
Step 5. Using a smaller-sized brush, draw the veins.
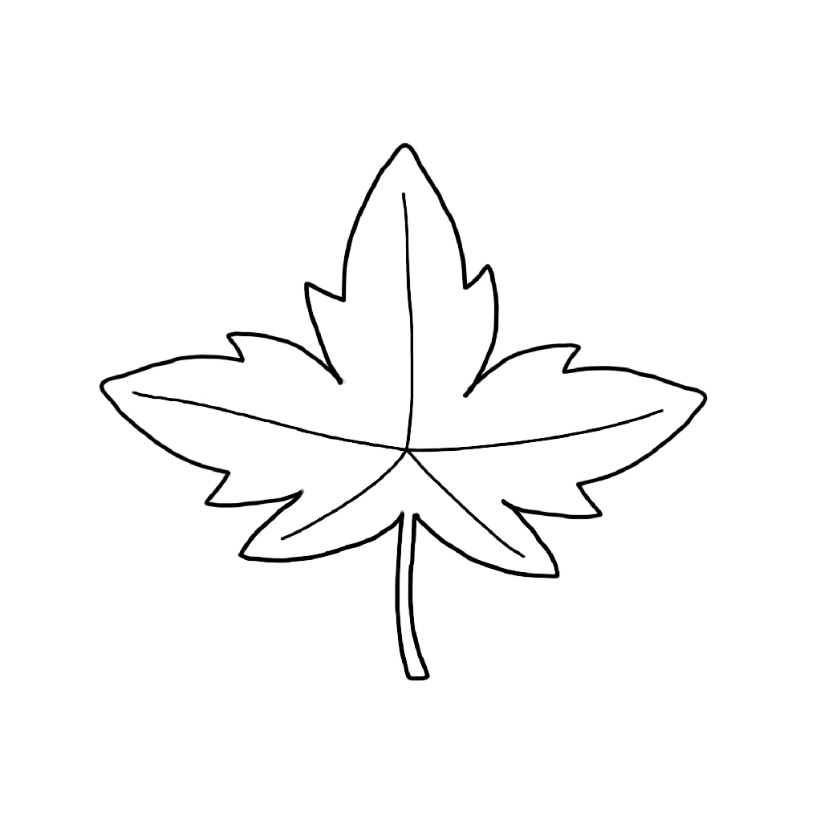
Step 6. Add branches to the veins.
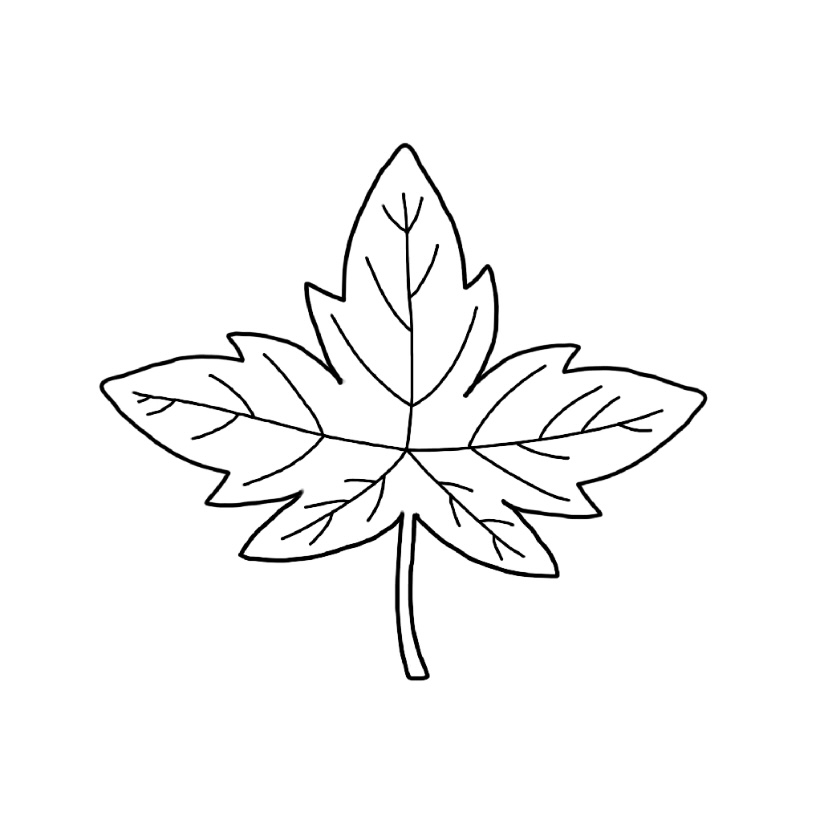
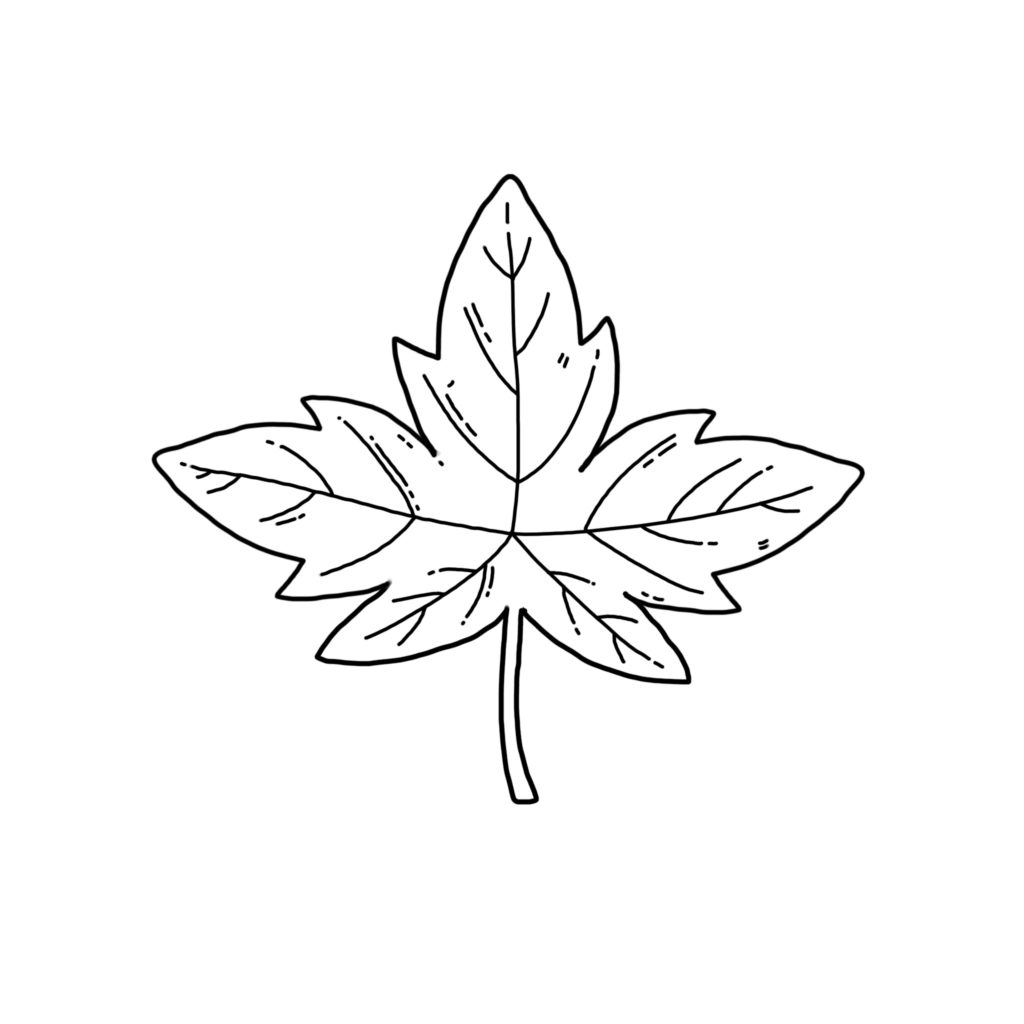
Step 7. Finish by adding details.
2. Chestnut
Step 1. Draw the shape as shown.
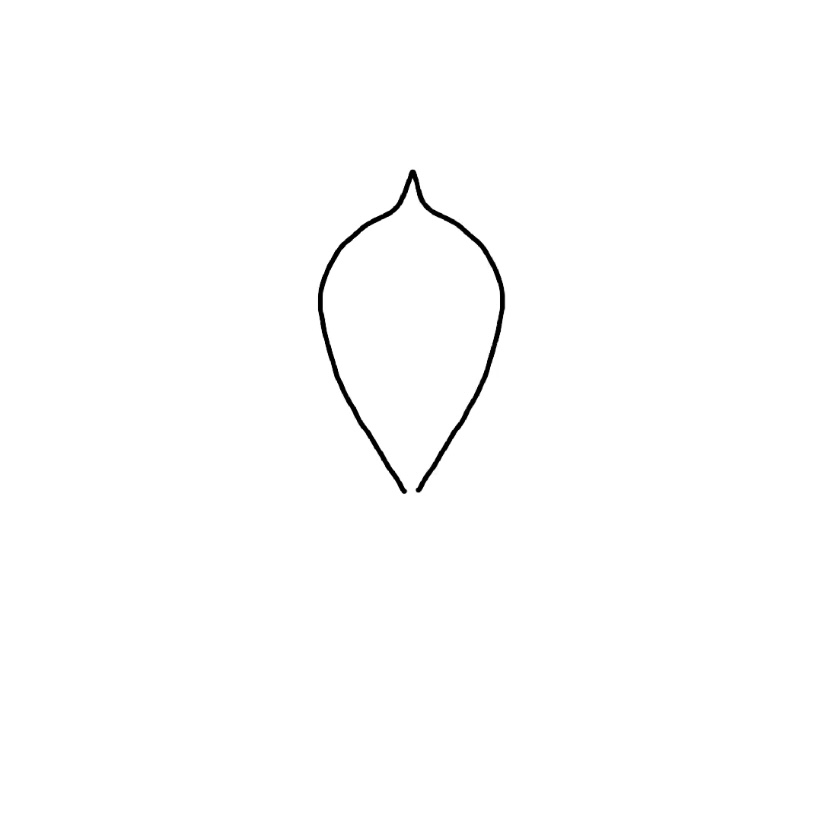
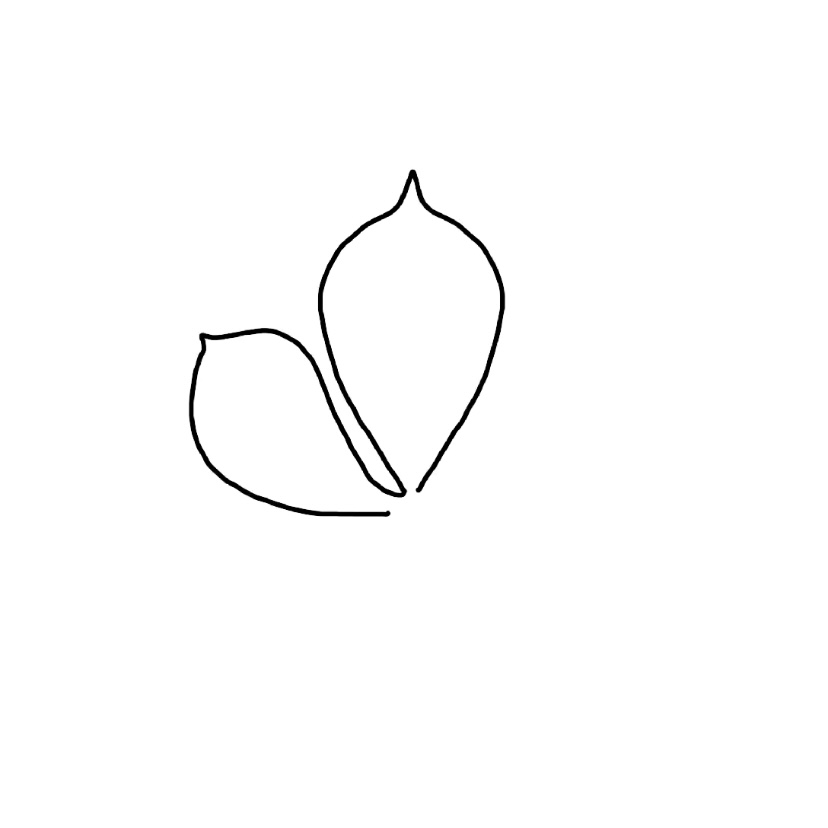
Step 2. Repeat the shape with a smaller size on the left.
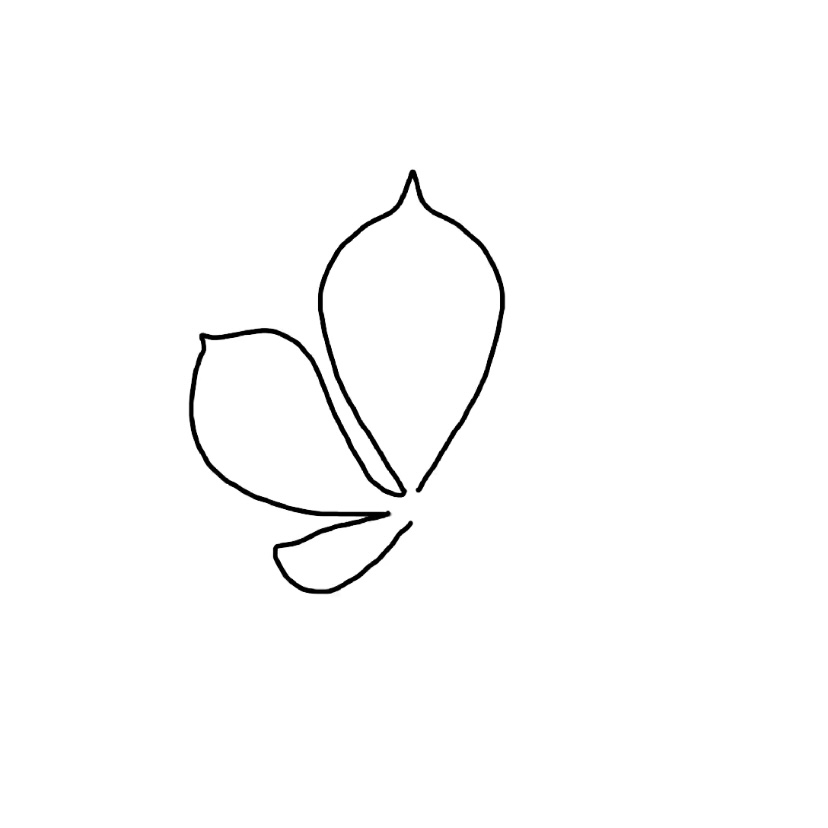
Step 3. Add a smaller size of the shape at the bottom.
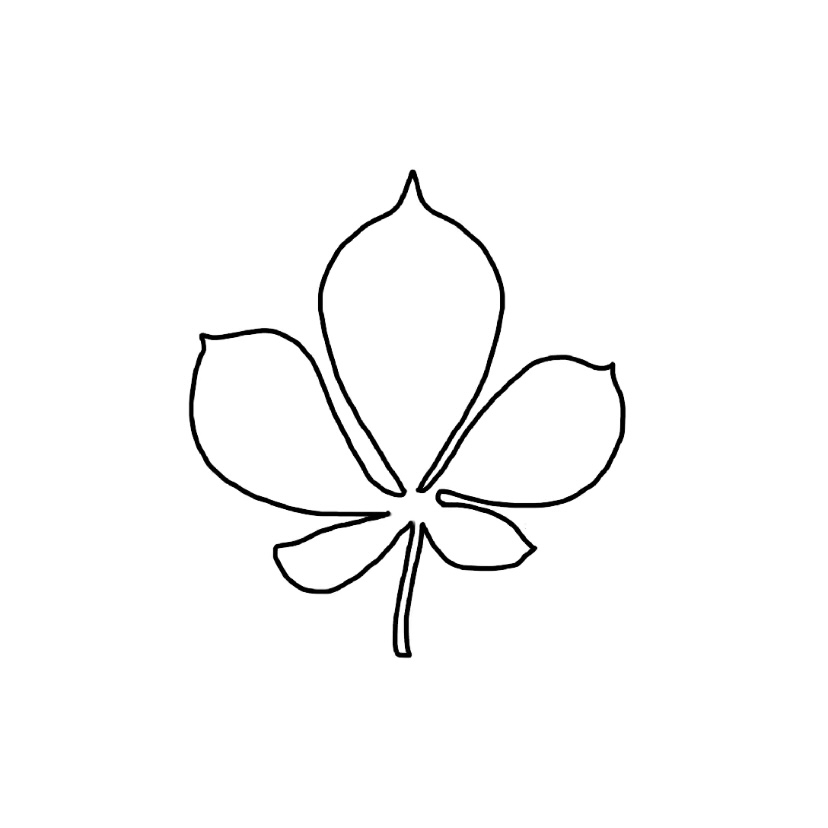
Step 4. Repeat on the right and add the petiole to finish the outline.
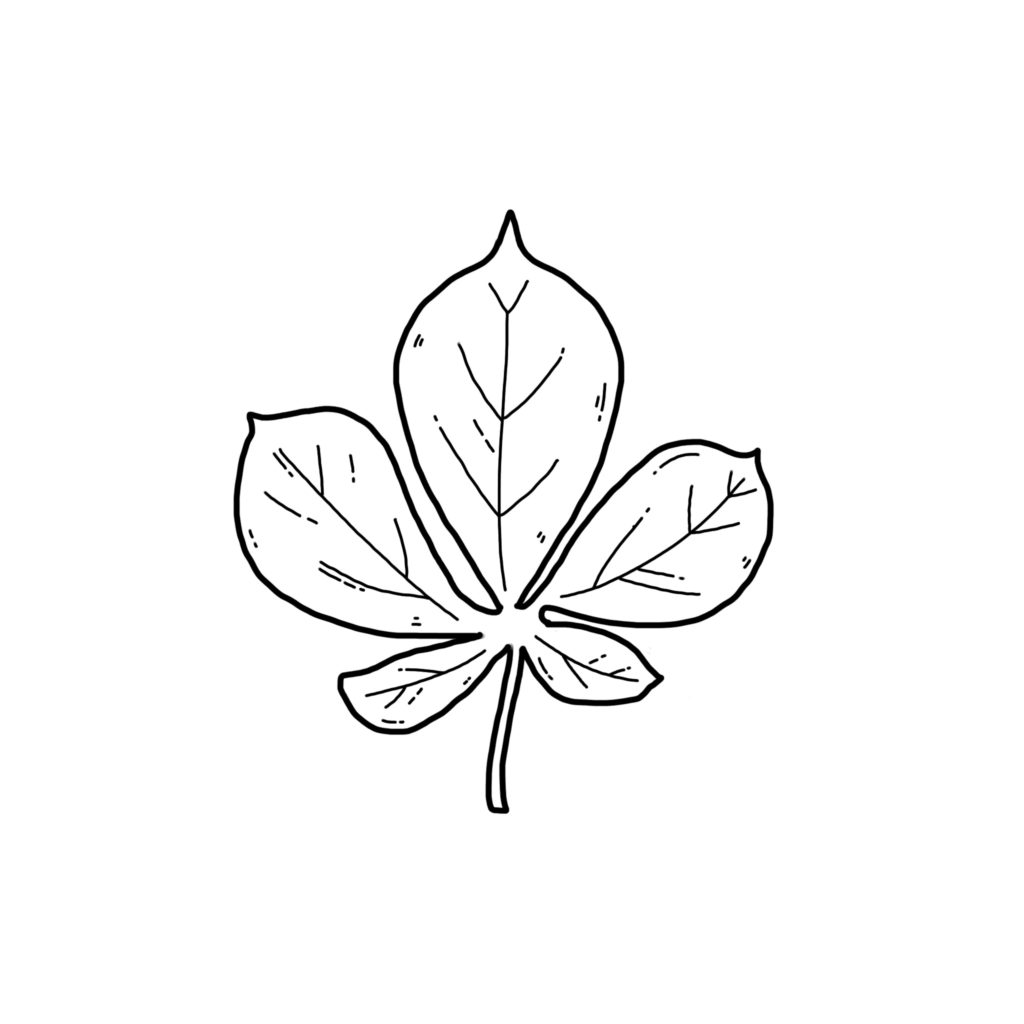
Step 5. Add the veins with a smaller-sized brush.
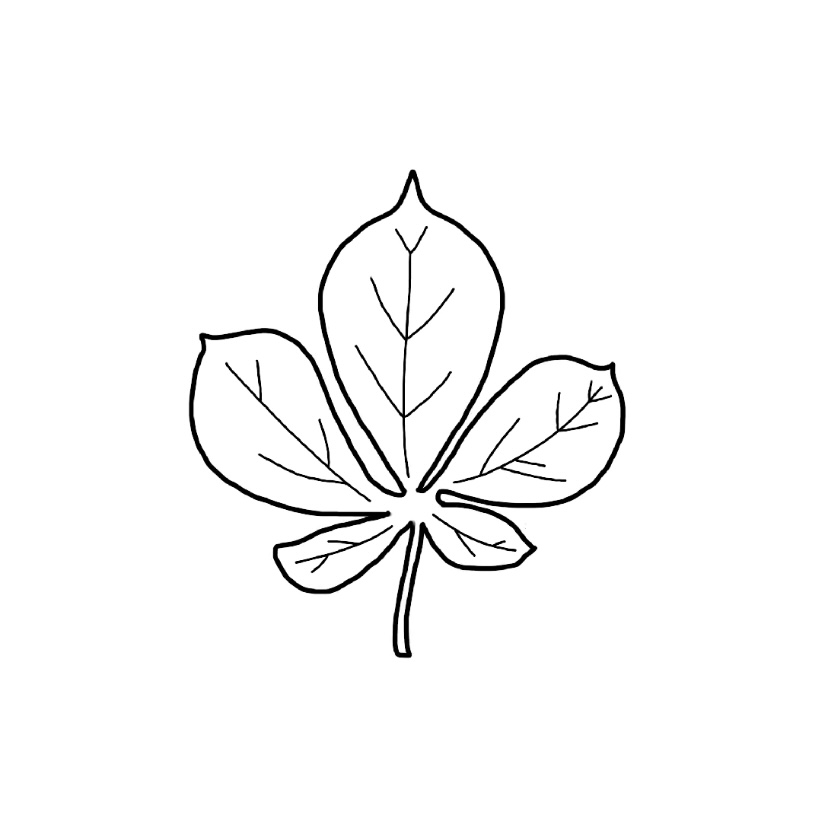
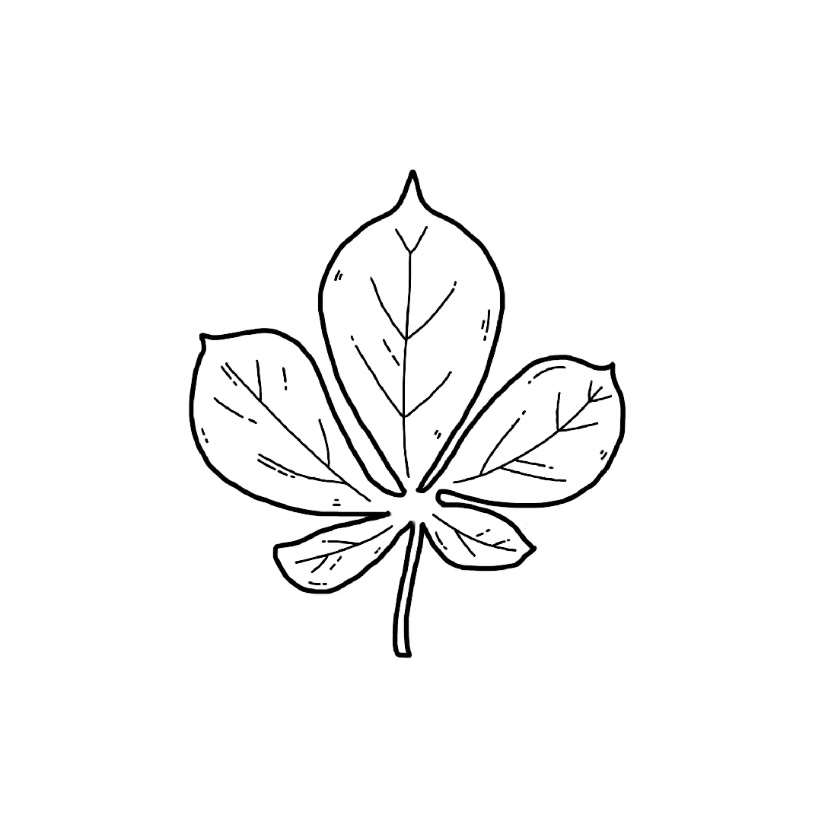
Step 6. Finish by adding some details.
3. Birch
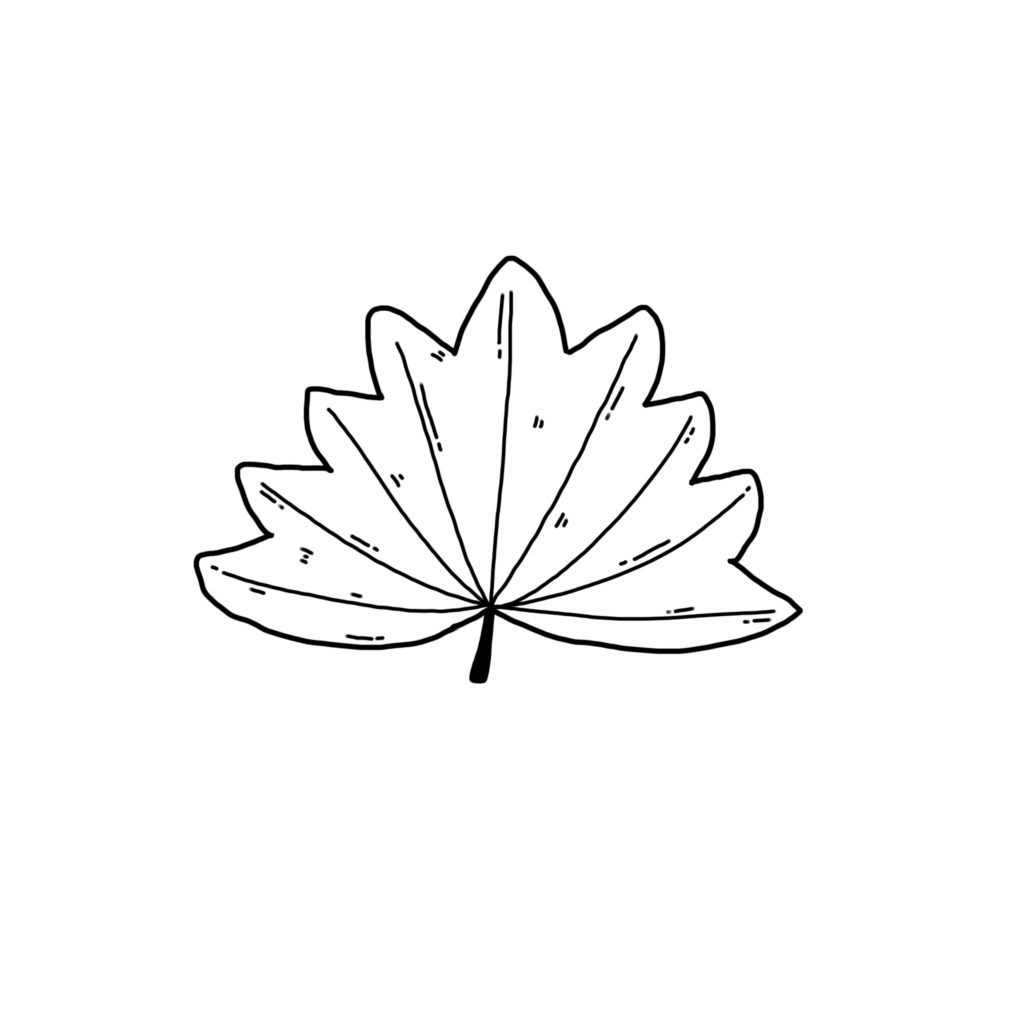
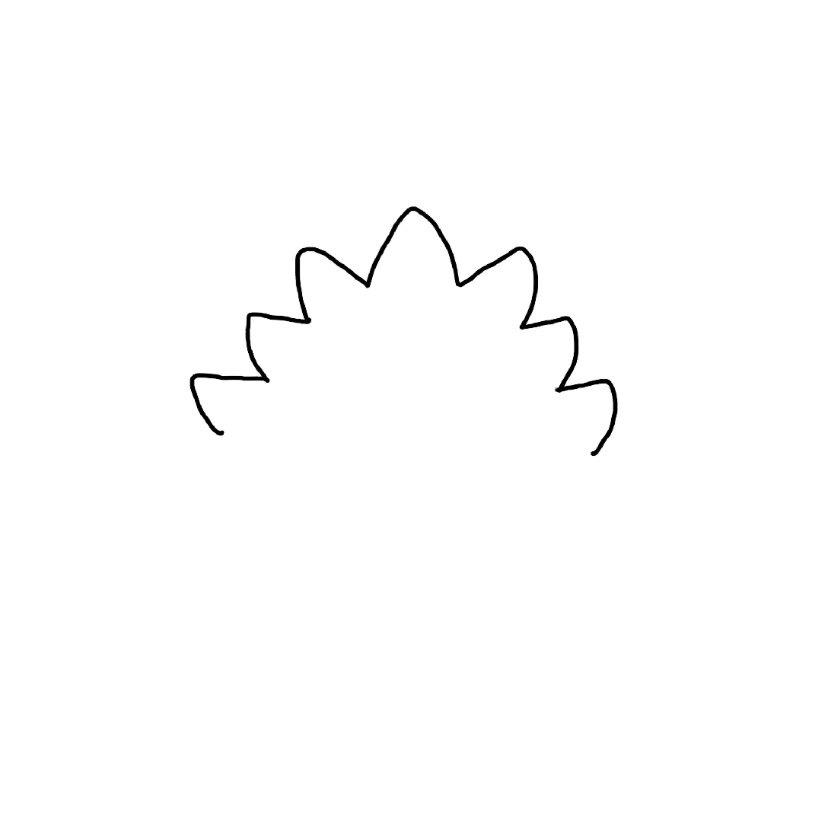
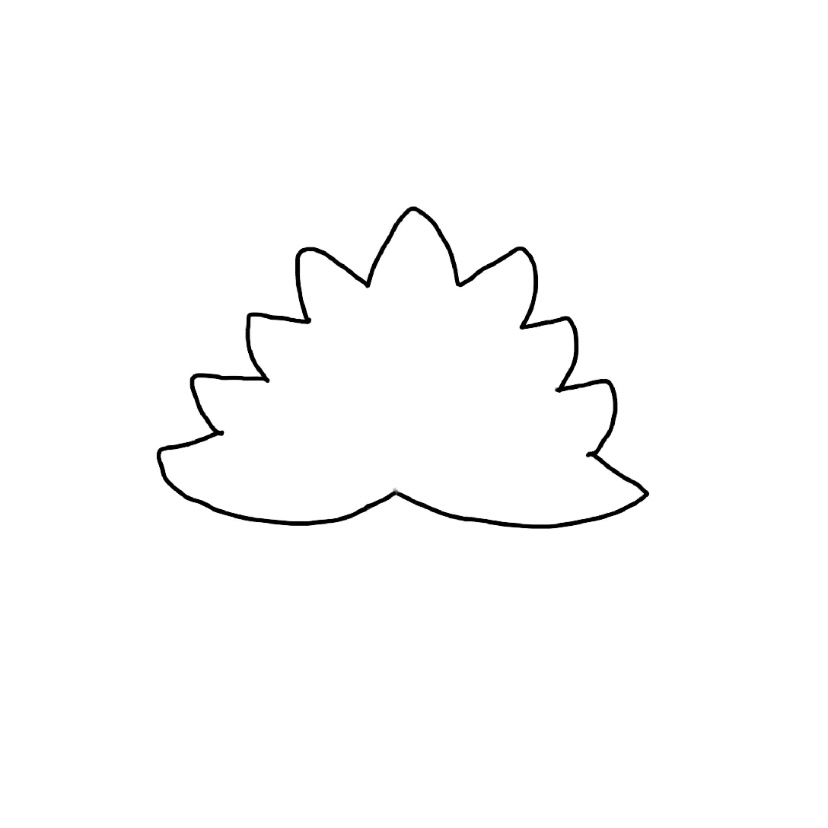
Step 1. Start with an inverted v-shape.

Step 2. Add more v-shape at the sides.
Step 3. Draw two curves at the bottom to finish the outline of the leaf.
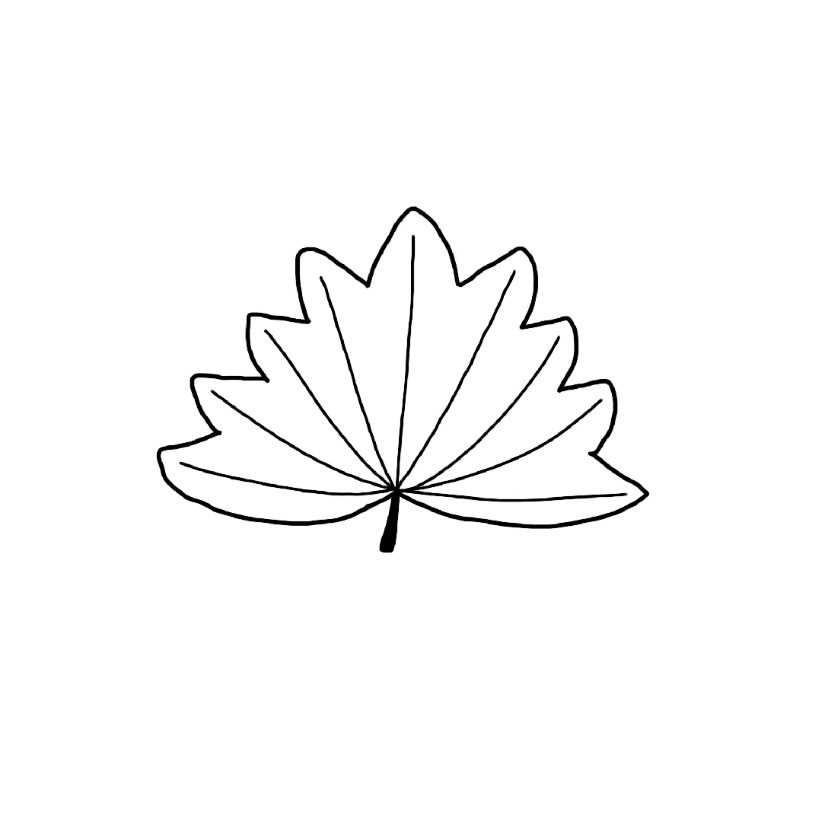
Step 4. Using a smaller-sized brush, add some veins and the petiole.
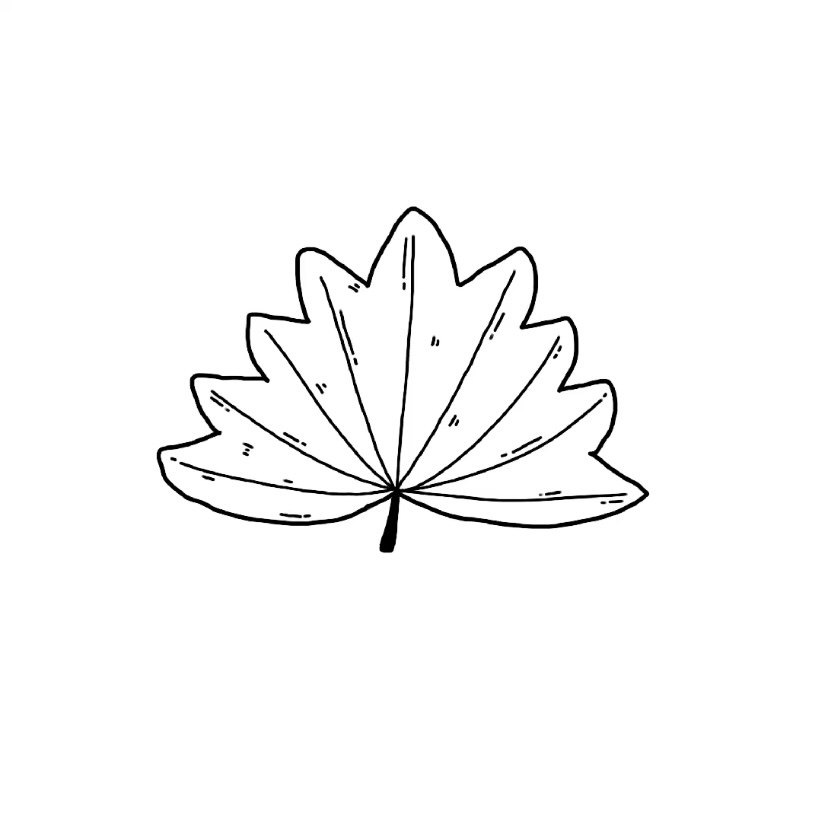
Step 5. Finish by adding details.
I hope you find this sharing useful. Which fall leaves do you like the most? I think that maple is certainly the most signature one but the rest of the autumn leaves just look cute as well. Try to draw them!
More autumn essentials doodling tutorials:
HOW TO DRAW A CUP OF HOT DRINK | STEP BY STEP GUIDE
HOW TO DRAW A PUMPKIN | STEP BY STEP GUIDE
