How to draw a mushroom | Step by step guide
Cute mushroom doodle in 9 steps
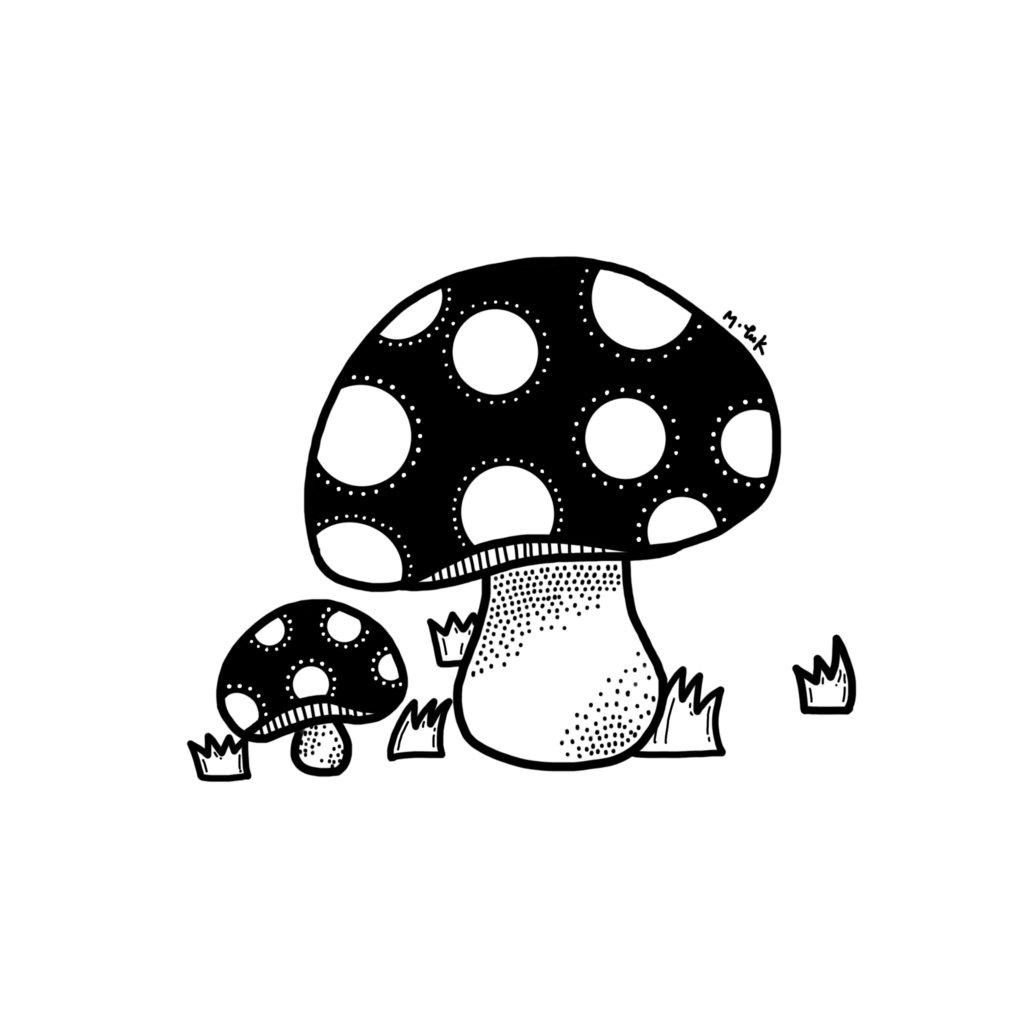
Welcome to the season of mushroom! Do you like mushrooms? Not only are they yummy, they also look so cute in various shapes and sizes. This time I am drawing the signature mushroom with big circles on its head. This kind of fungi may not be edible, but they are definitely a lovely doodle to be drawn in your sketch book or bullet journal! Let’s finish this adorable doodle in 9 simple steps!
Steps
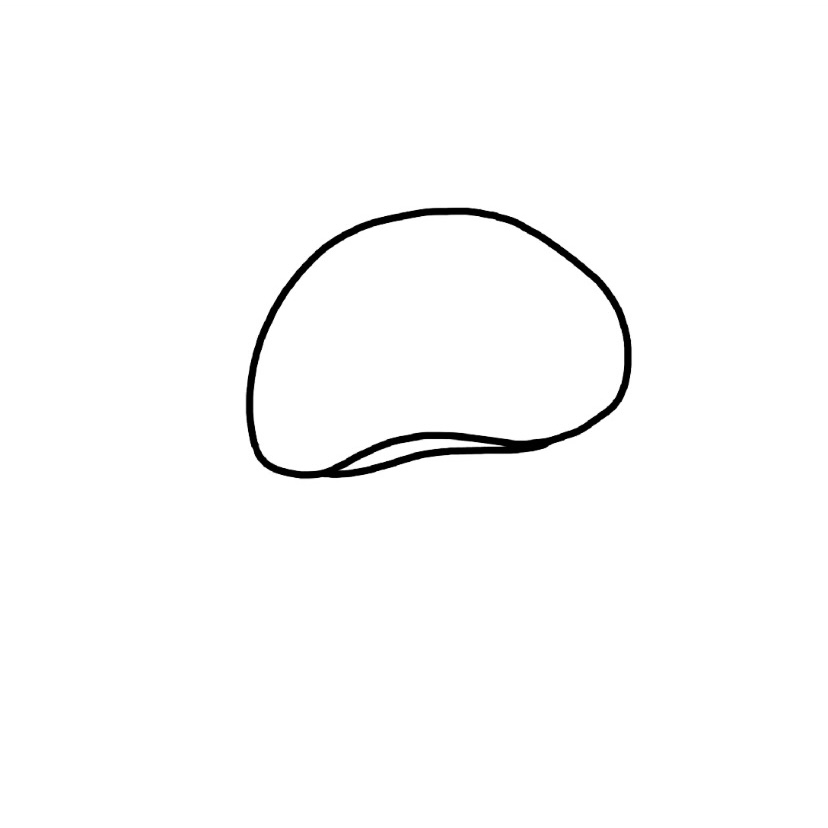
Step 1. Draw the outline of the head of the mushroom.
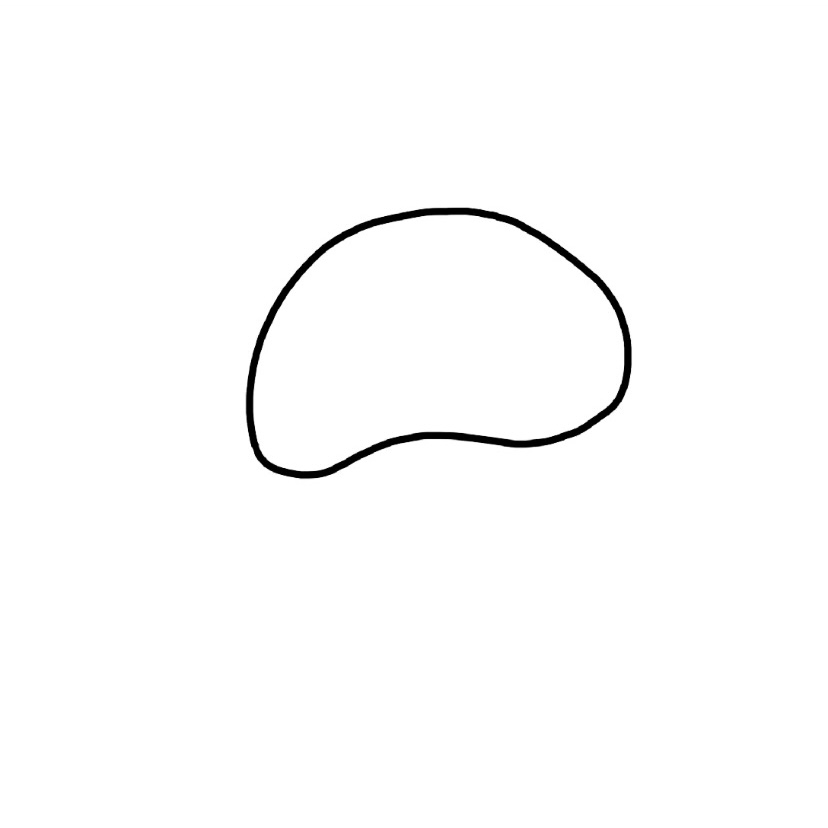
Step 2. Add a line underneath the head.
This creates the inner side of the mushroom head.
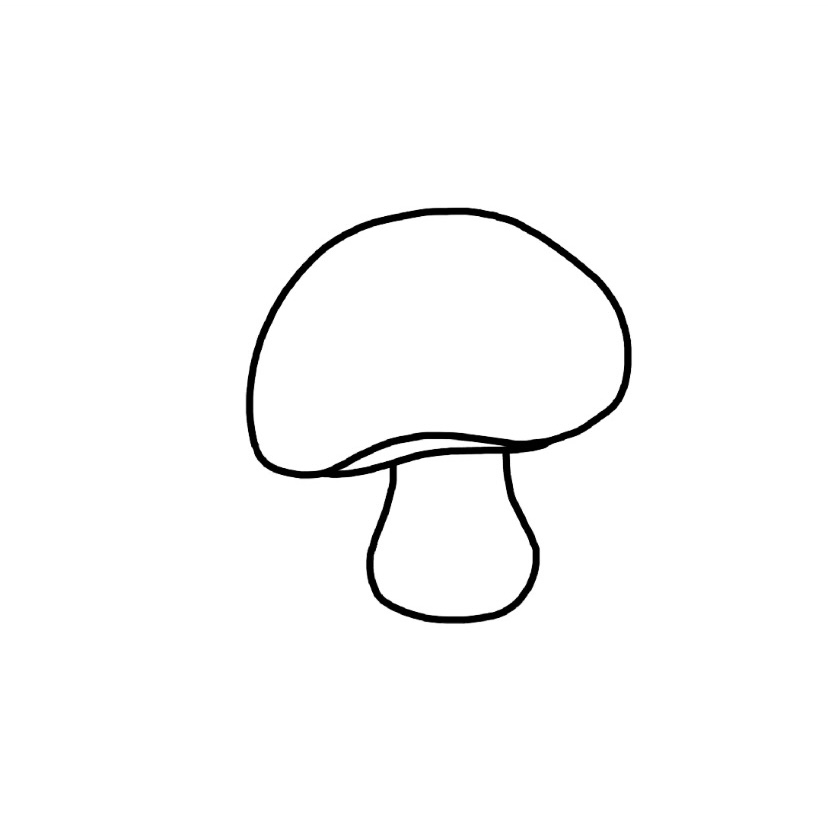
Step 3. Give the mushroom a stem.
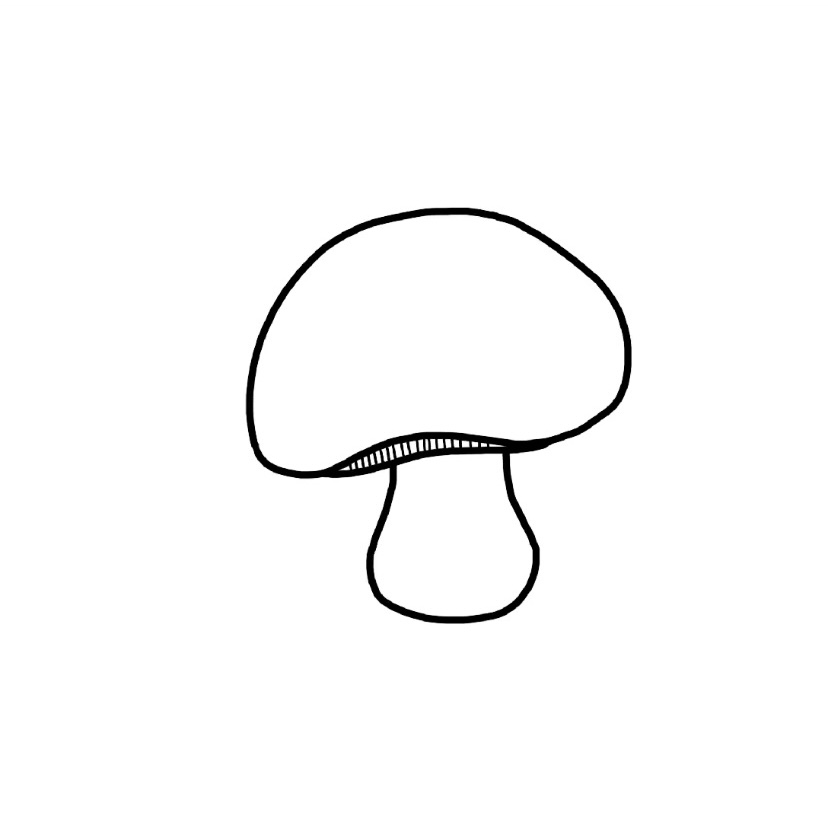
Step 4. Add some stripes for the inner part of the mushroom head.
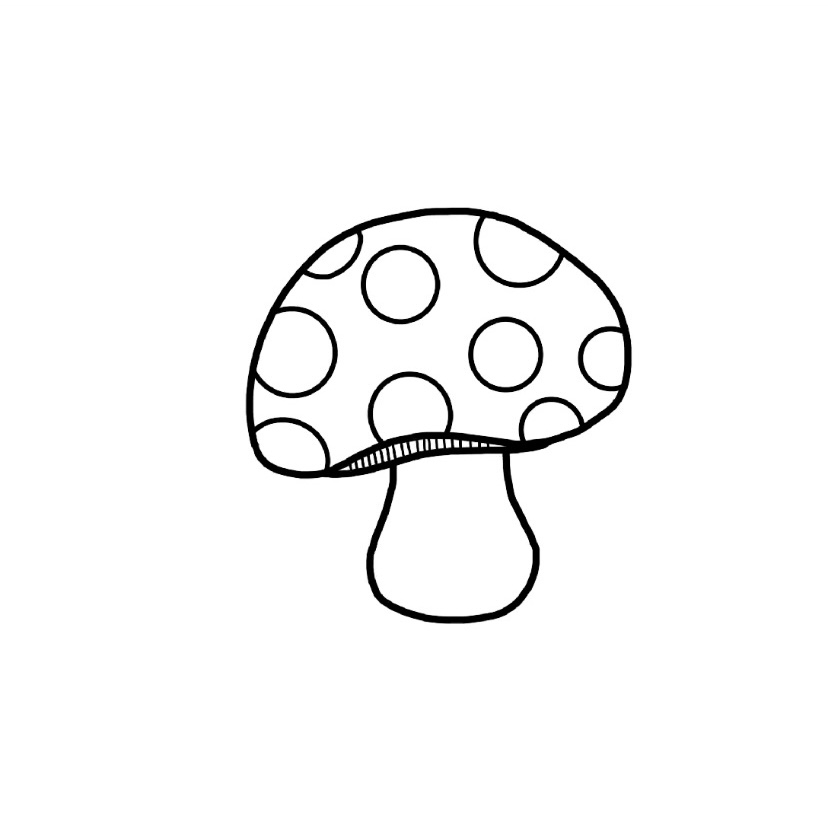
Step 5. Draw some circles on the head of the mushroom.
Step 6. Add some shadings to the stem.
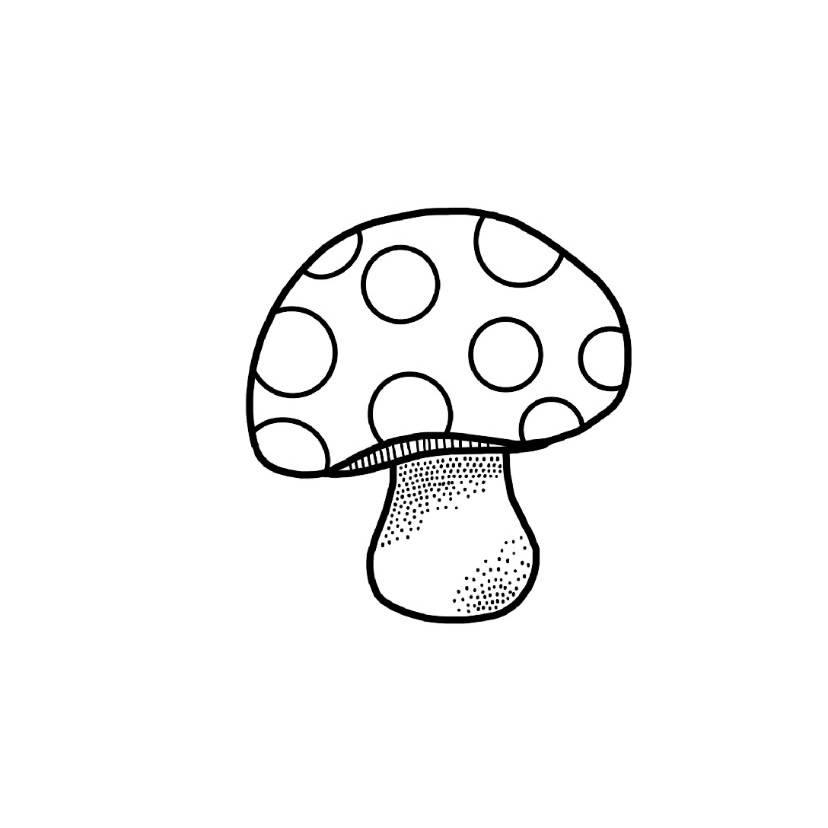
Step 7. Blacken the mushroom head. Leave the circles white.
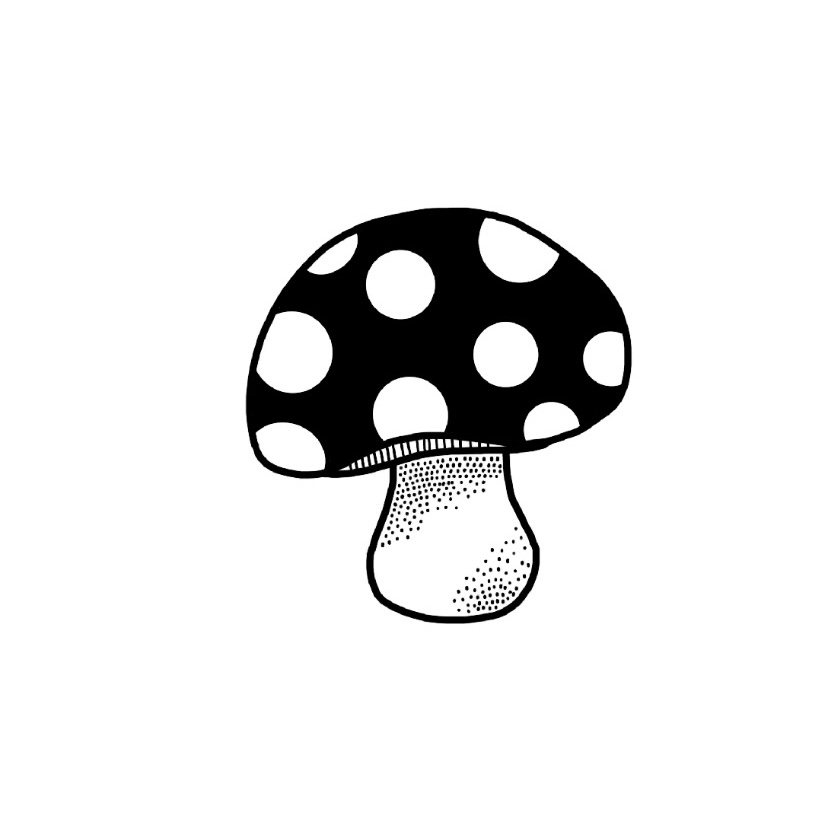
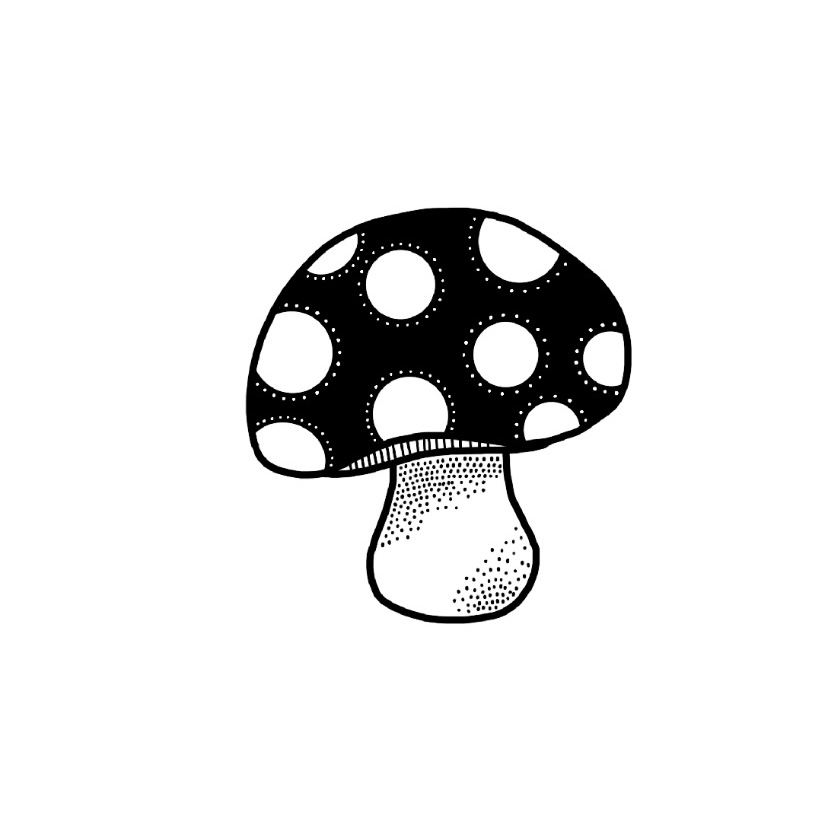
8. Add some details on the head.
As the head part appears a bit plain to me, I added some small white dots around the big circles on the head. This is step is optional. You can absolutely skip this step if you don’t feel like adding them.
Step 9. Add some grass and a smaller mushroom.
Lastly, I drew one more small mushroom on the left and some grass to finish the doodle.

I hope you enjoyed this sharing. If you are looking for some more autumn essentials to draw, check out the links below!
More autumn essentials doodling tutorials:

