How to draw Christmas trees | Step by step guide
3 simple ways to doodle Xmas trees
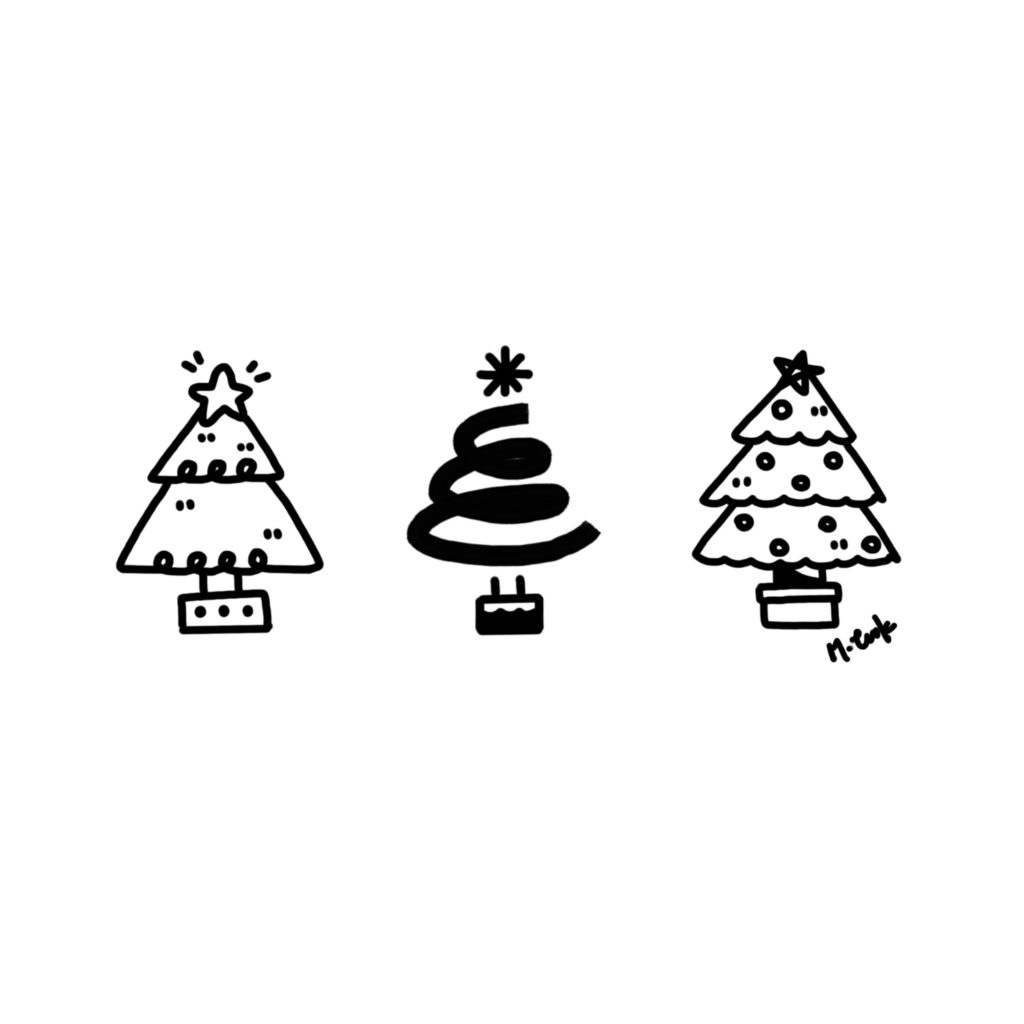
In this post three easy and simple ways to doodle Christmas trees will be shared step by step. Learn to draw them and decorate your Xmas cards!
Steps
Version 1
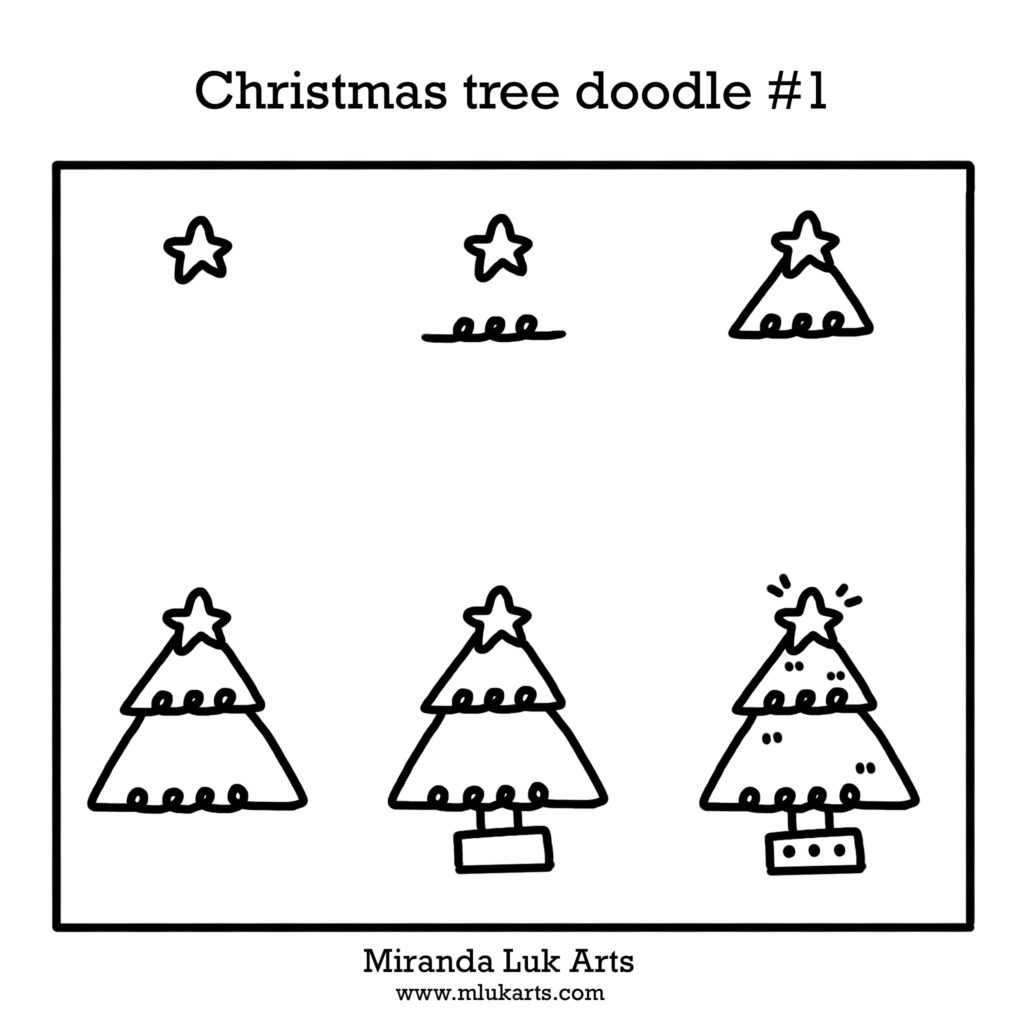
Step 1. Draw a star.

Step 2. Draw a line with loops of curves.
This will be the baseline of the upper triangle.

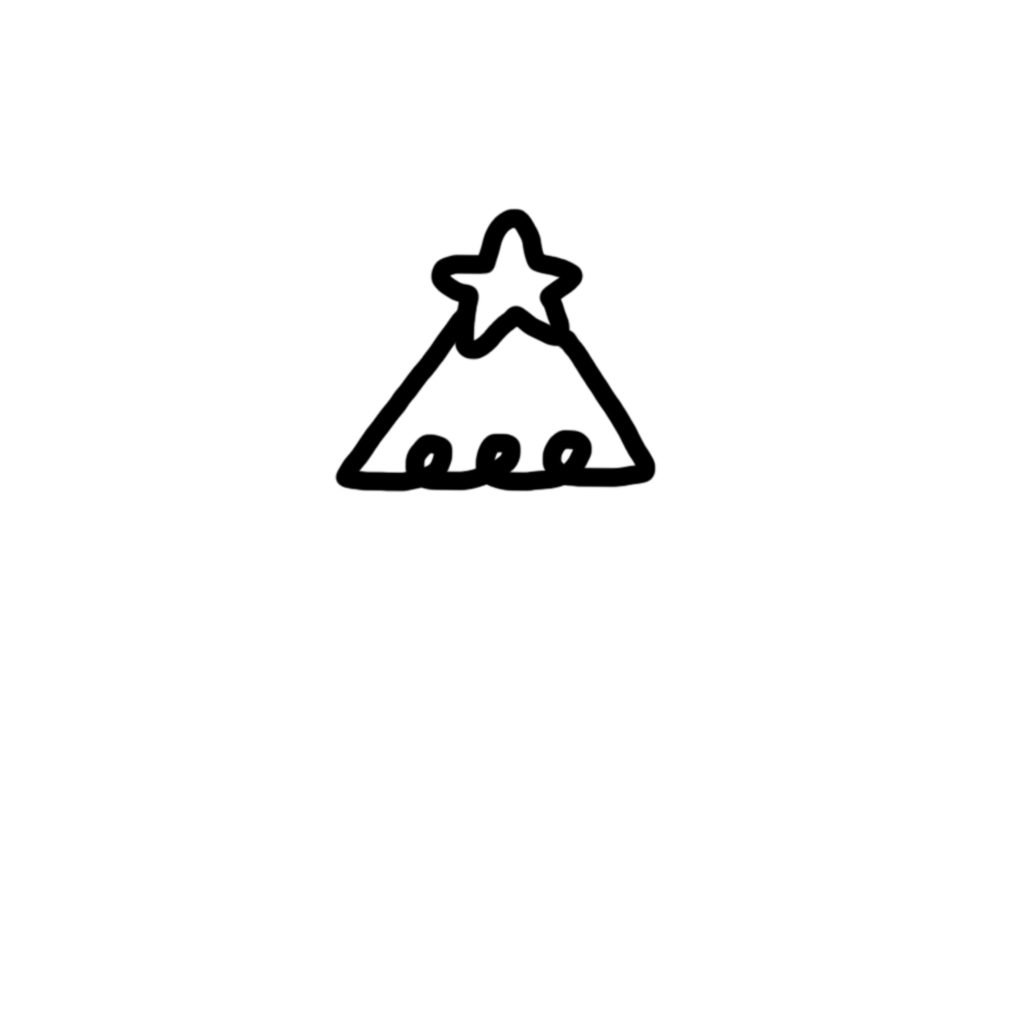
Step 3. Draw two tilted lines to connect the line and the star.
This forms the upper triangular part of the Xmas tree.
Step 4. Add one more triangle underneath the first one.
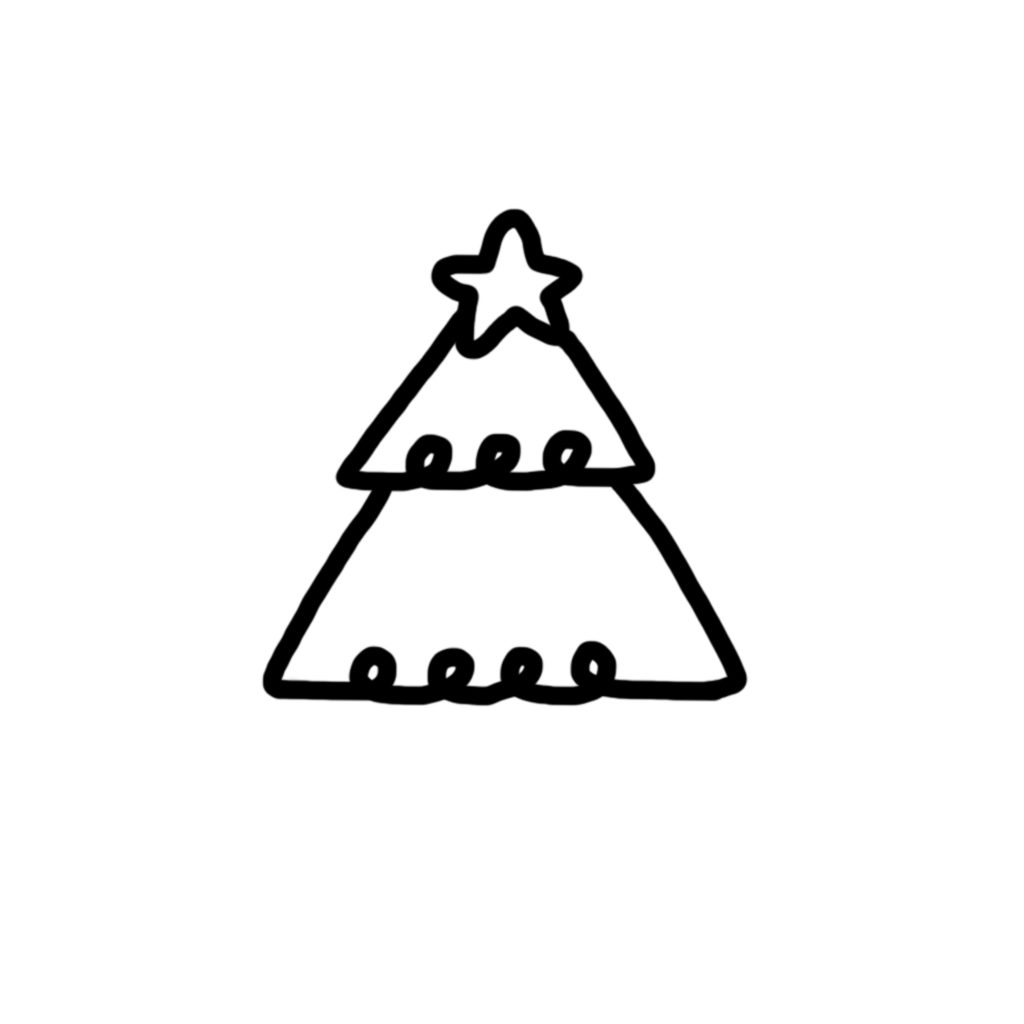
Step 5. Draw the pot.
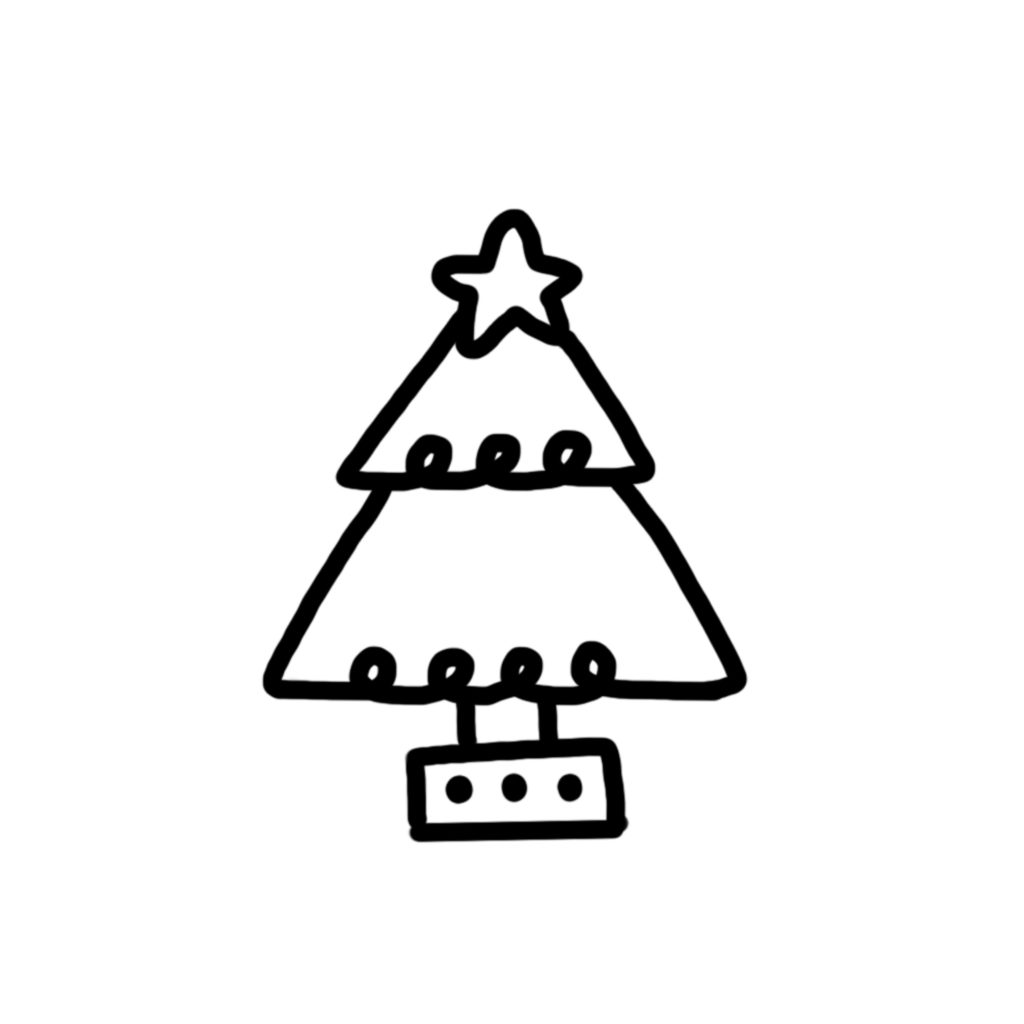
Step 6. Add some details. Now it’s done!
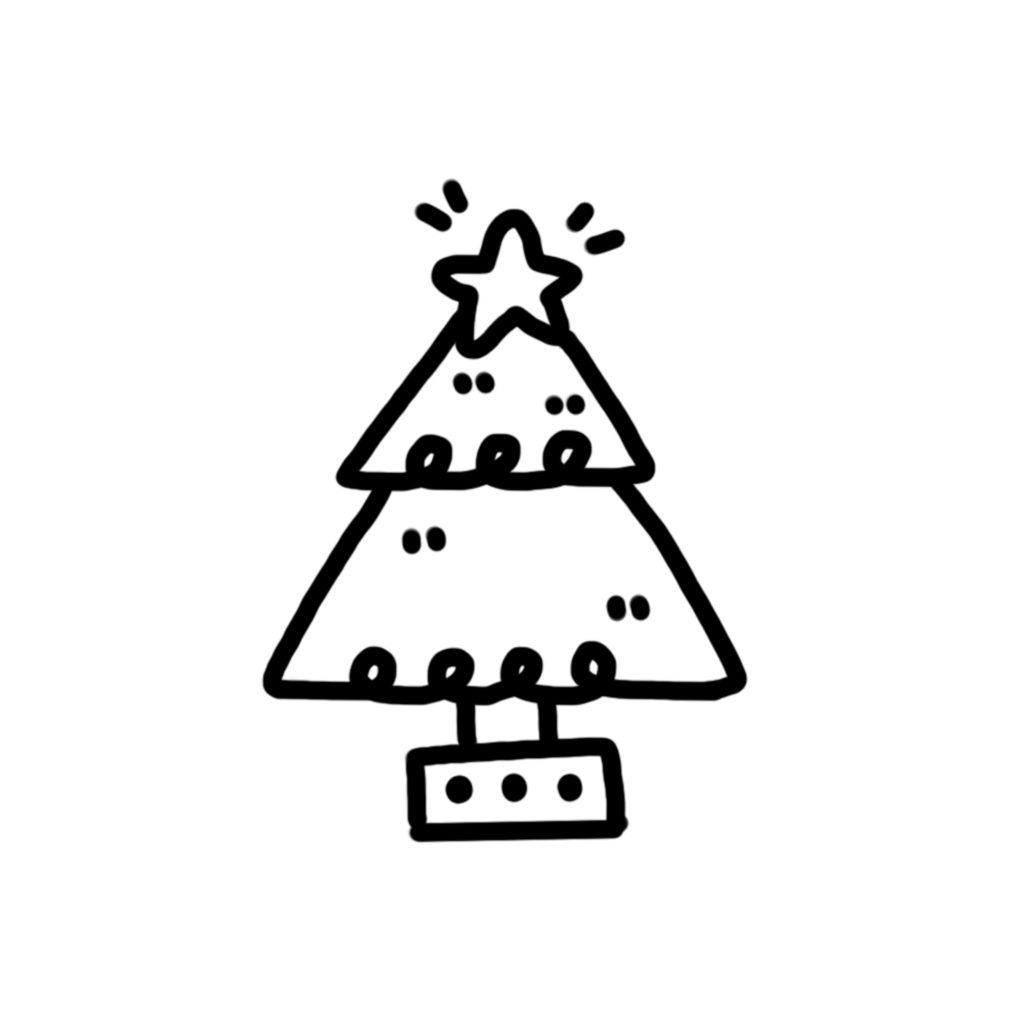
Version 2
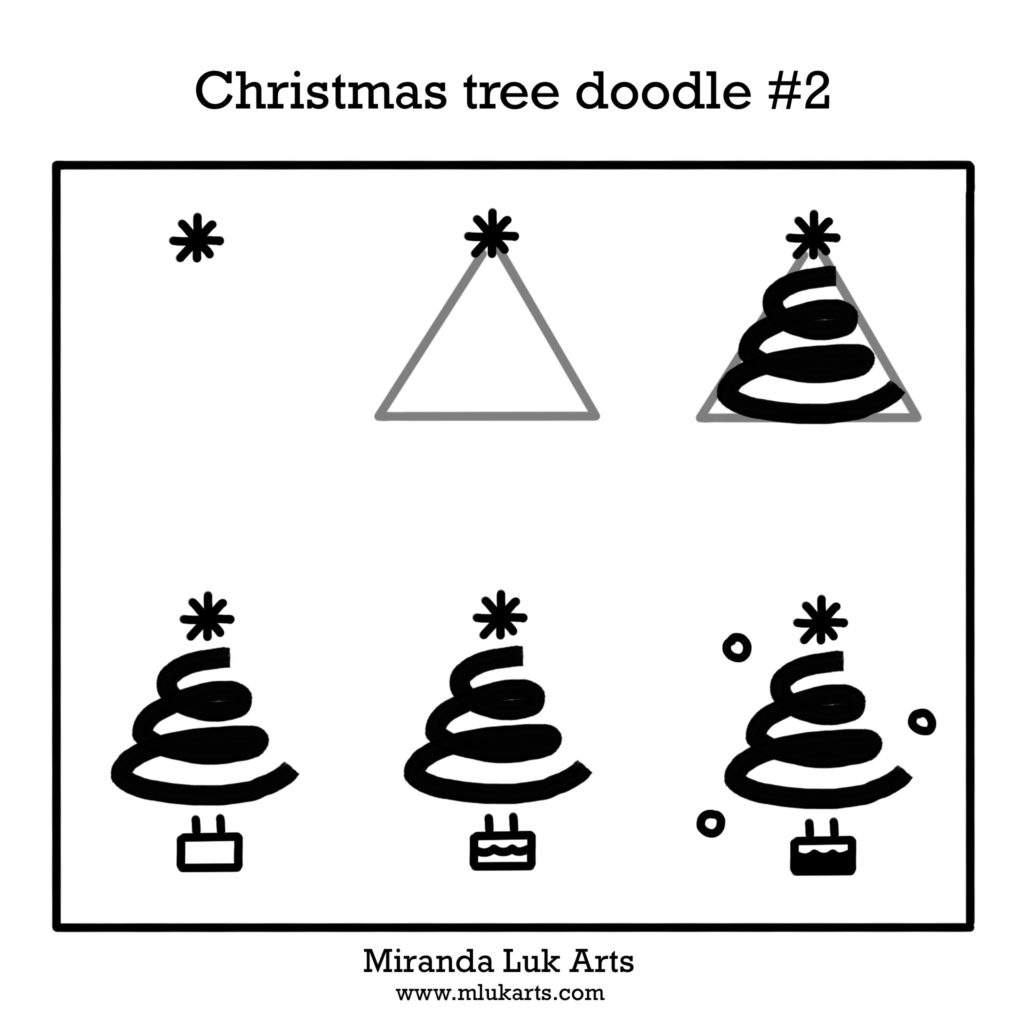
Step 1. Draw a star.

Step 2. Draft a triangle underneath the star.

Step 3. Using a thicker brush, draw loops of curves so that they follow the shape of the triangle.

Step 4. Remove the draft layer.

Step 5. Add details to finish the doodle.


Version 3
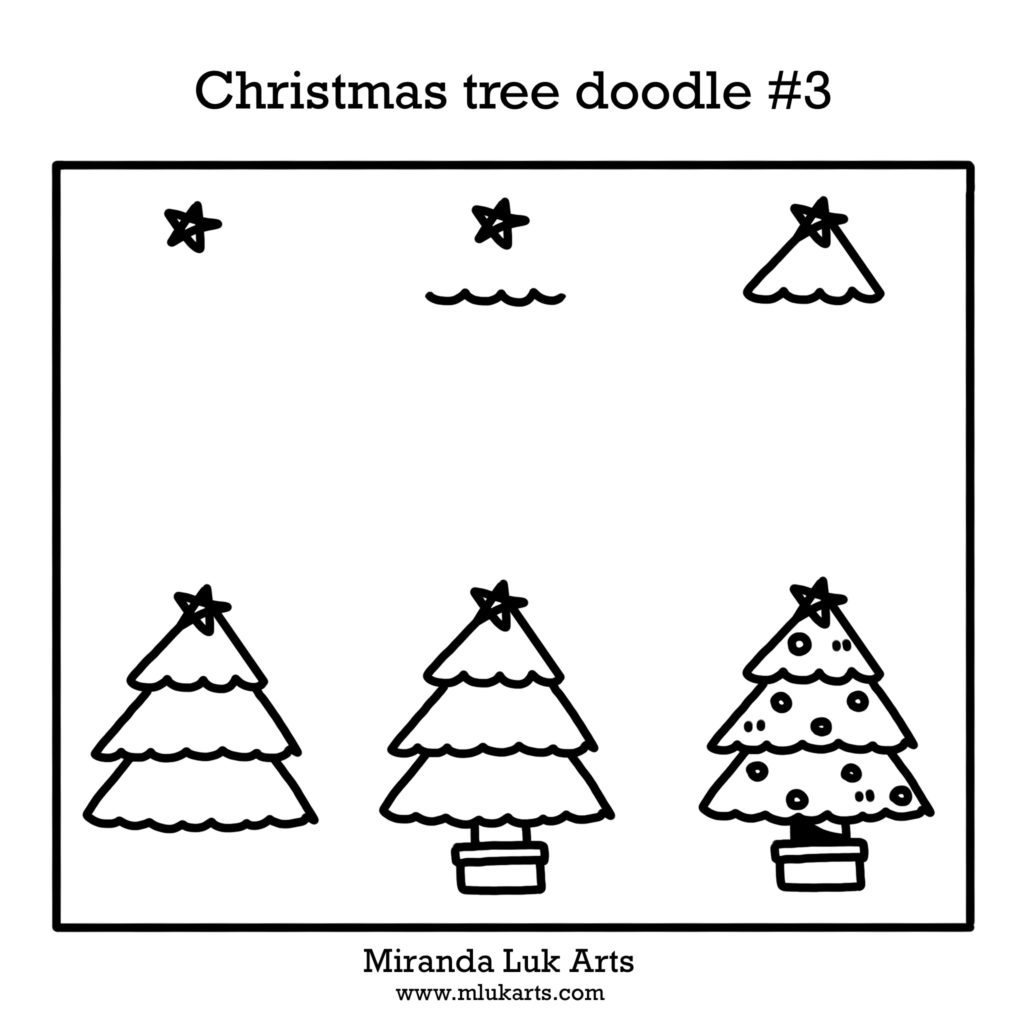
Step 1. Draw a star.

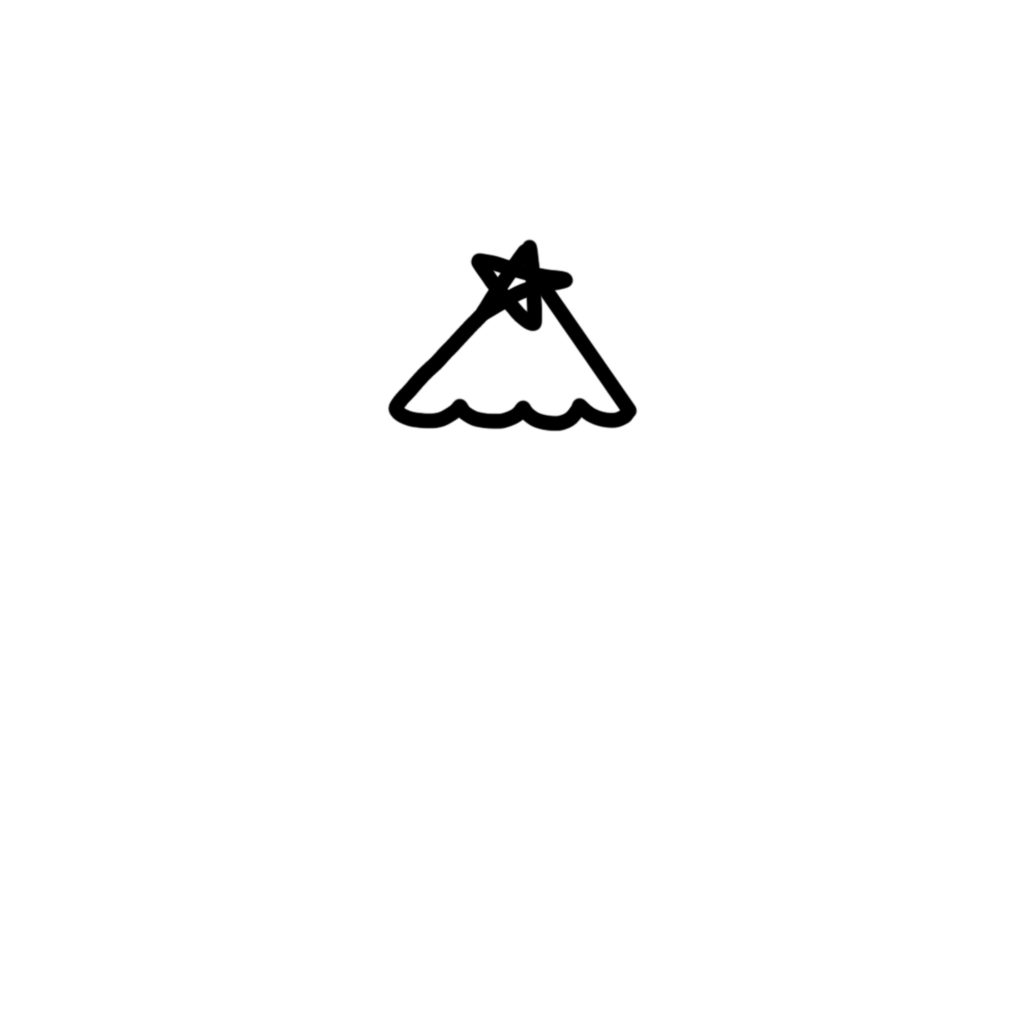
Step 2. Draw a triangle underneath the star with curves at the baseline.
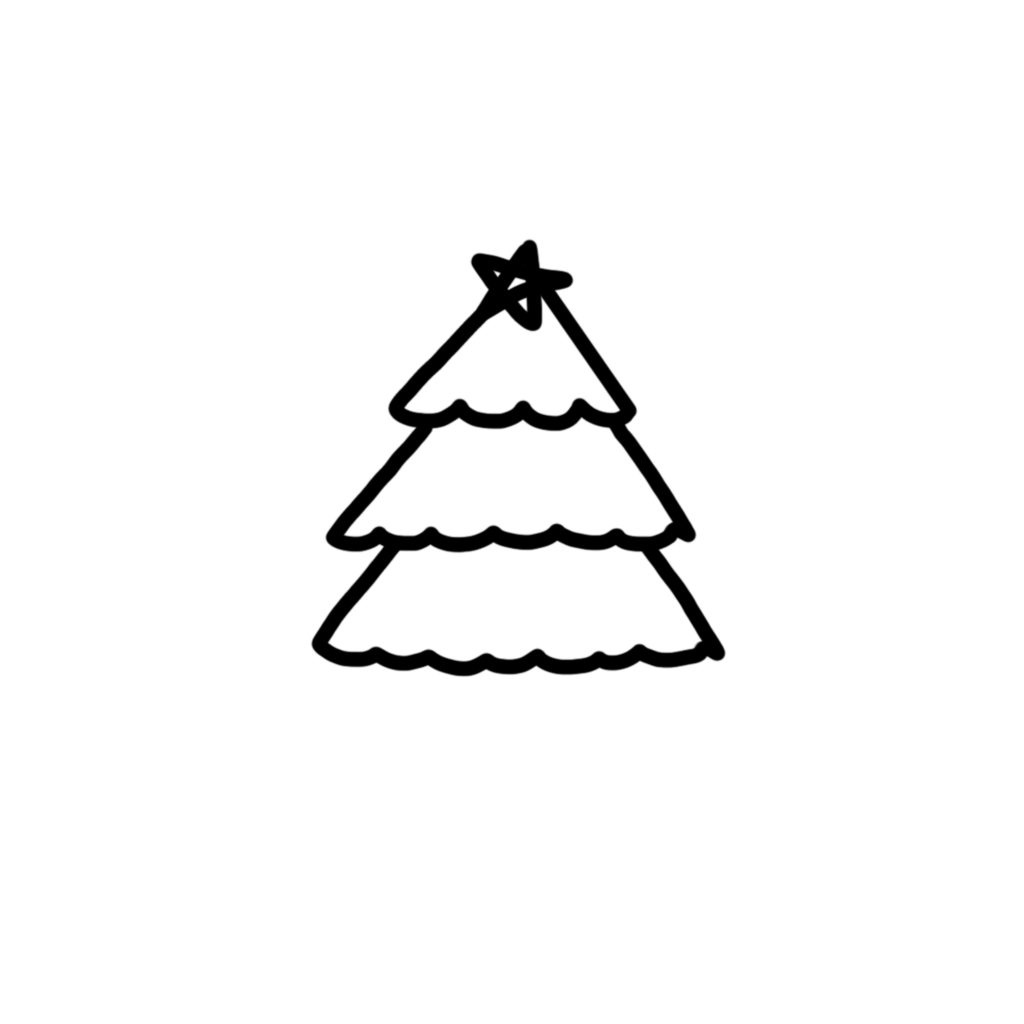
Step 3. Add two more triangles to form a three layered Christmas tree.
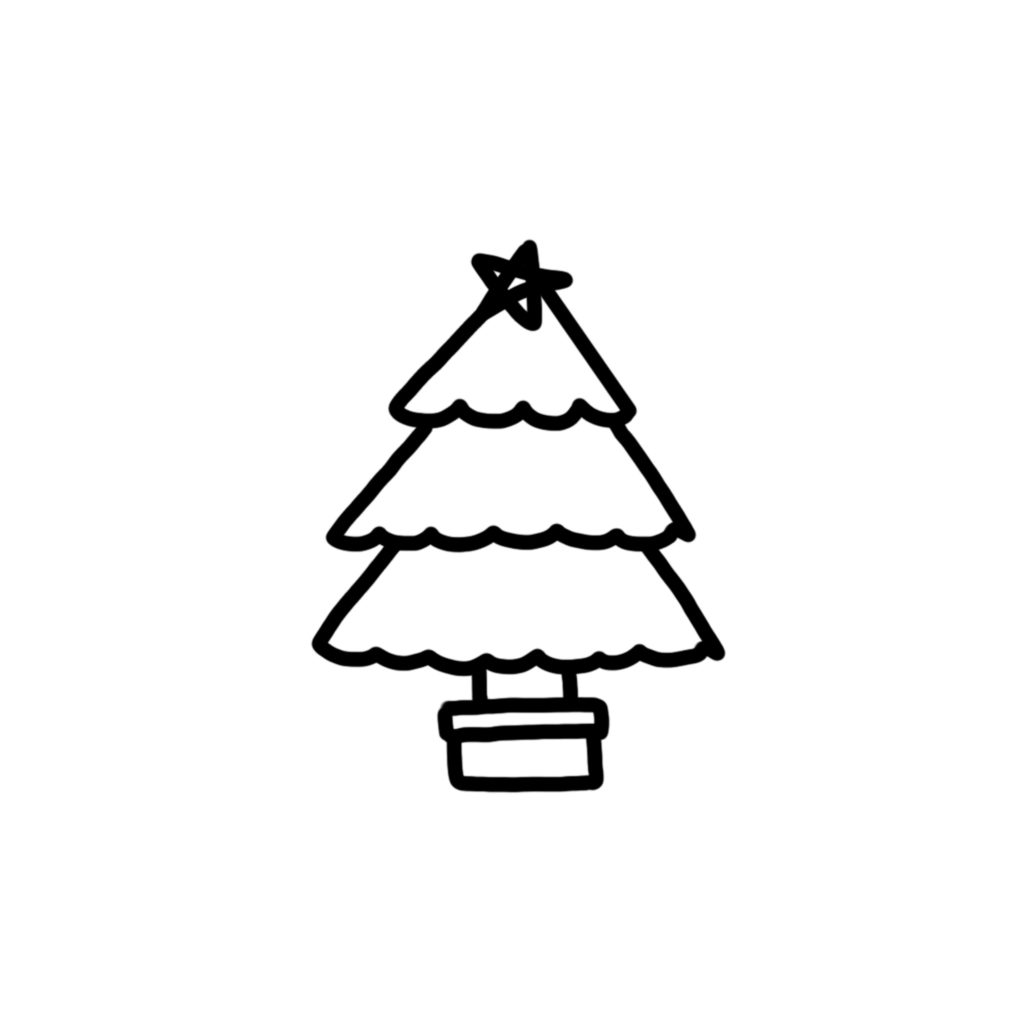
Step 4. Draw the pot.
Step 5. Add details to finish the doodle.
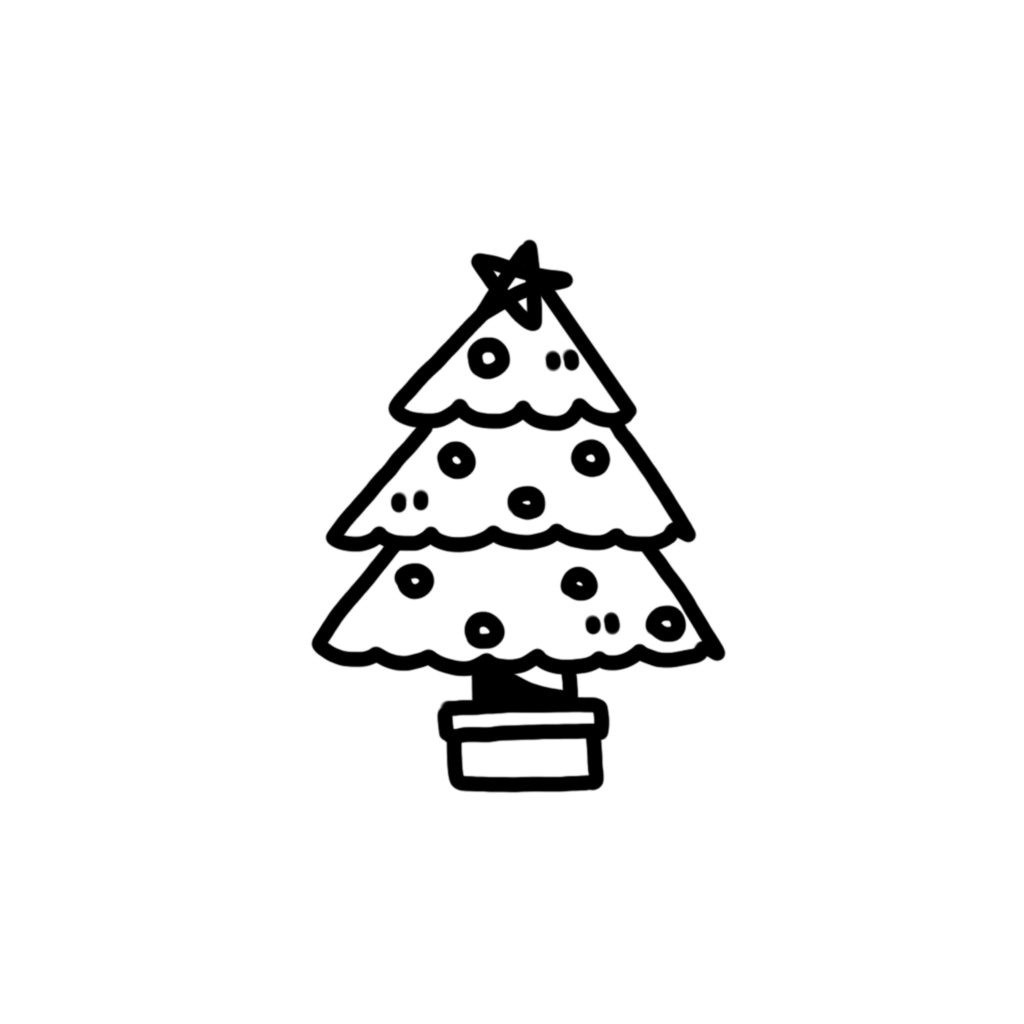
Christmas trees can be doodled in many different styles. A simple change in the star, leaves, pot or decos would create a new style of Xmas tree. Let’s grab a pen and brainstorm some more variations of Christmas tree!
More Christmas elements doodling tutorials:
