How to draw a water pot | Step by step guide
Water pot doodle with flowers in 9 steps
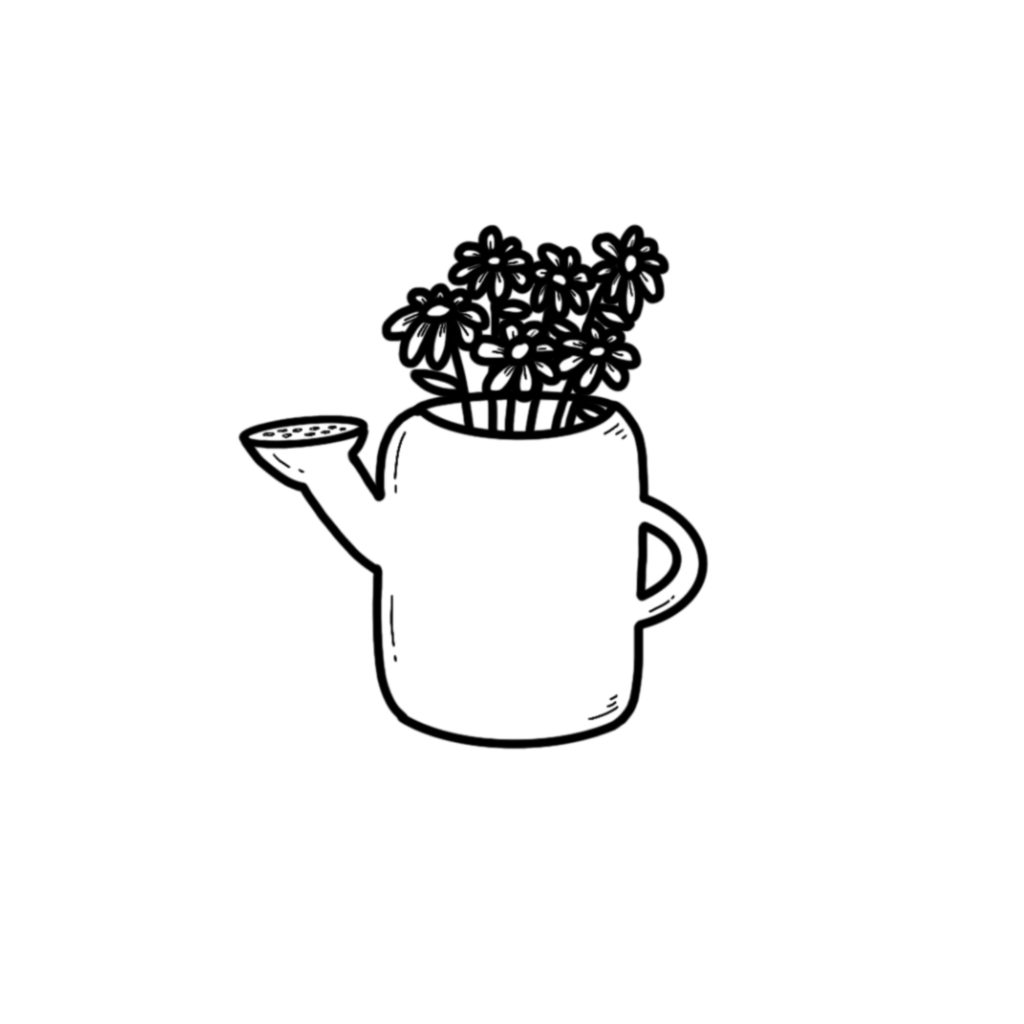
Spring comes after the long chilling winter. The rising warmness and unstinting sunshine bring a springtime full of fresh greenery, bright blooms and blue skies. In time of this vivid season, let’s doodle something energising, inspiring and invigorating! How about this water pot with flowers? It can be finished in 9 simple steps! Now let’s begin!
Steps
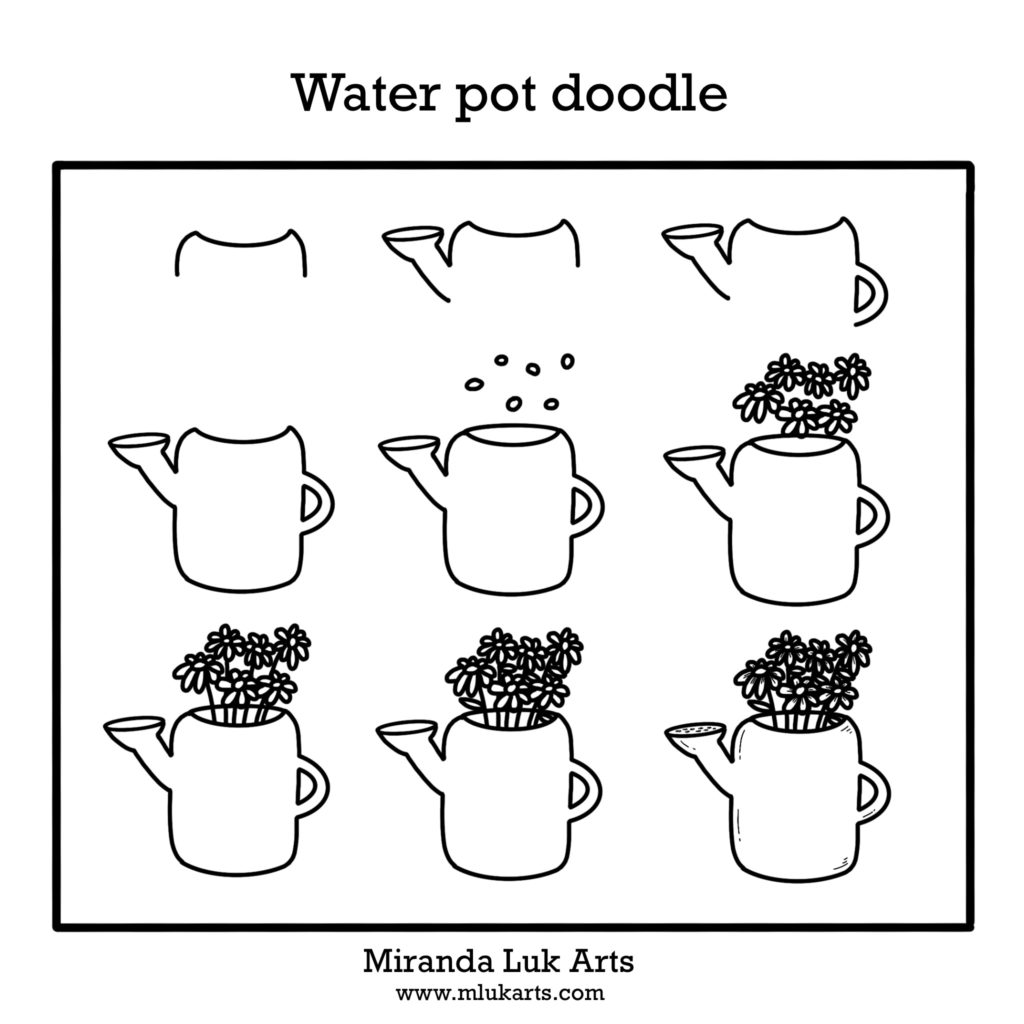
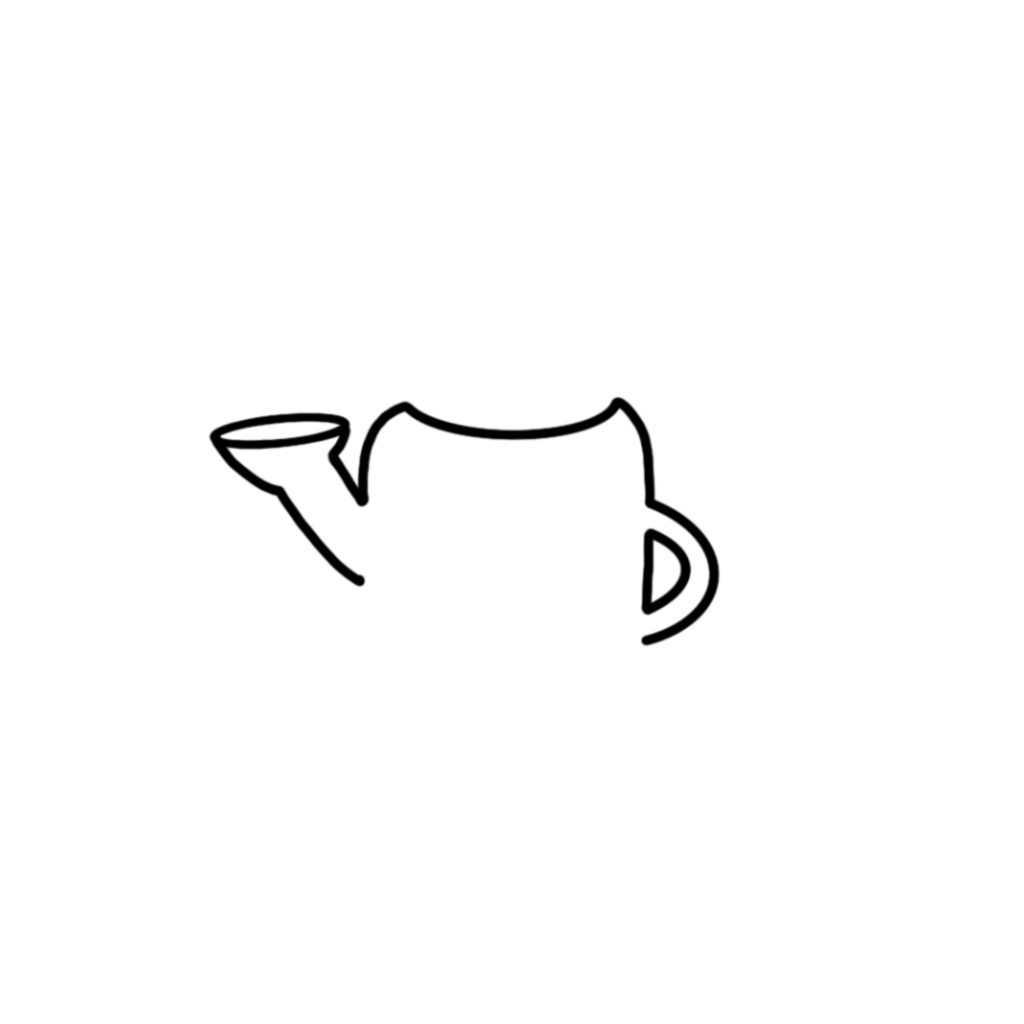
Step 1. Draw a wide downward curve followed by two small vertical curves at the sides.
This forms the upper part of the water pot.

Step 2. Add a funnel to the water pot.

Step 3. Add a handle to the water pot.
Step 4. Add a wide U shape as the bottom.

Step 5. Randomly draw some small circles as the centre of flowers.

Step 6. Add 7 to 8 petals to each flower.

Step 7. Add stems.

Step 8. Add leaves. Then add a curve at the top to finish the outline of the water pot.

Step 9. Add details. It’s now done!
More spring doodling tutorials:
